Wreckage
A mysterious cargo ship crashed in a desolate swamp. The redacted cargo manifest hints at cargo more valuable than the rich vitrolium deposits emanating from the surrounding swamp. Enough heavy mechs to start a small war hang from the cargo bay’s rafters. This Wreckage could be one of the richest finds in recent memory, and is bound to become a hotly contested zone.
Aft Access
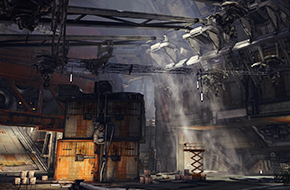
Beneath the aft engines, multiple entry points provide access to the interior of the hulking carcass. A wide ramp built from hull scraps leads up to the main cargo doors and then splits off to openings on either side. In the muck beneath these ramps, partially-submerged engine ports provide other entrance options.
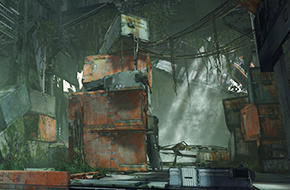
Aft Cargo Bay
A massive, open cargo bay runs down the middle of the wrecked ship. Stacks of shipping containers piled almost to the rafters dot the cavernous space. The contents of these containers is classified and the manifest a maze of redacted black lines, providing an air of intrigue to the downing of this ship.
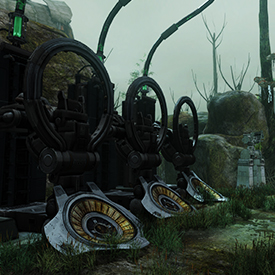
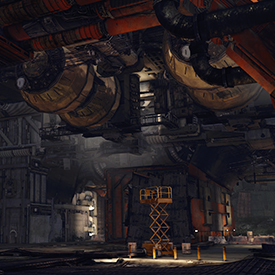
Mech Storage Bays
Two odd storage bays found on the port and starboard sides can be accessed by tunnels from the main cargo bay. Heavy mechs suspended on tracks over the floors of these bays seem poised for quick deployment through exterior access ports, raising the question: was this a cargo carrier or a warship?
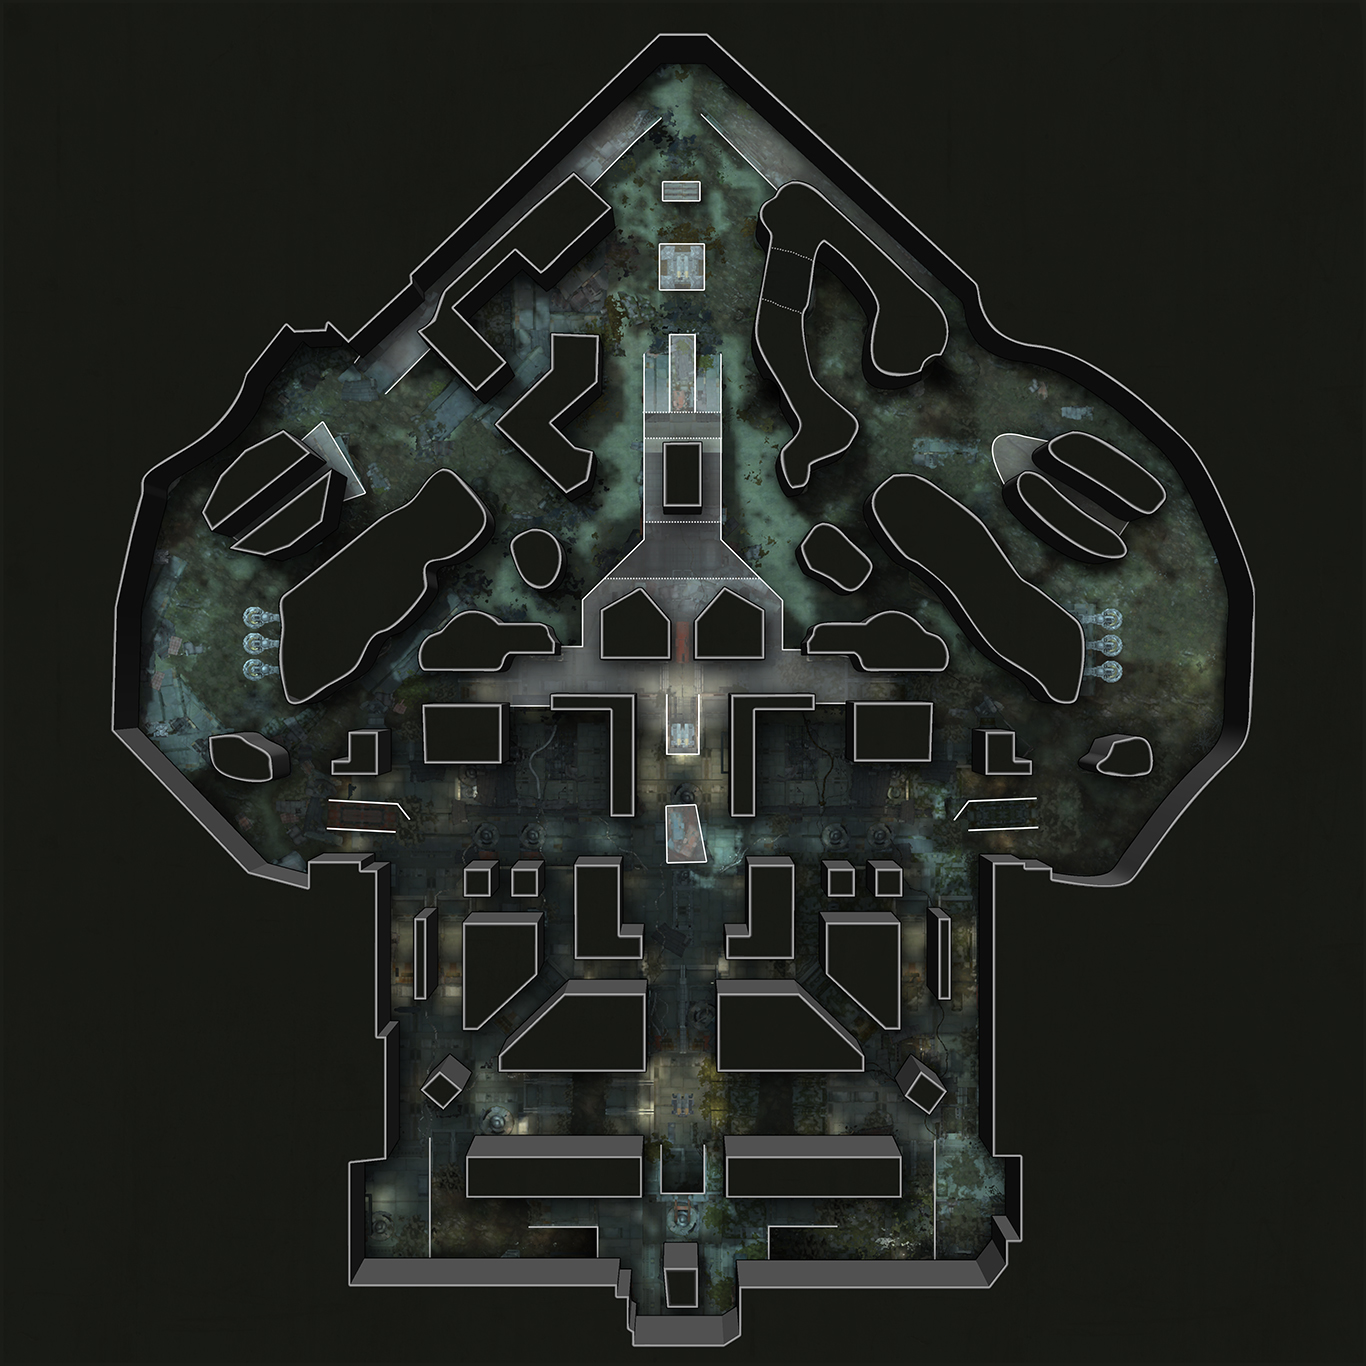
Interactive Map
Plan Your Attack
The map below depicts the terrain and pathways for Wreckage. Use the drop-down menu on the right to toggle between map states.
Strategy
Surviving in Wreckage
The hulking skeleton of this long dead cargo ship is one of the most intimidating battlefields pilots will face. Remain cautious at all times or you run the risk of becoming part of the ship's growing collection of mech carcasses.
The interior contains multiple cargo bays connected by tight corridors. Pilots can grow confident in their position, only to turn a corner and come face to face with an enemy. Knowing the layout of the corridors will allow you to not only evade your opponents, but lead them into traps as well.
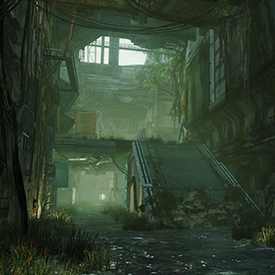
The exterior of the ship gives pilots more breathing room, but not by much. The swamp's pathways are wider but lack cover, especially from enemies attacking from the high ground at the ship.
Team Deathmatch
As always, caution is encouraged when fighting solo. Pilots investigating the Wreckage on their own should be prepared to face other fierce competition from other mech jockeys. Avoid the center of the map if you can, and utilize the numerous vantage points and pathways to flank and ambush your foes. If you get into a dangerous situation, try to lose your enemies in the numerous narrow hallways inside the crashed ship.
Missile Assault
When playing Missile Assault on Wreckage, teams should focus on capturing and holding silos 2 and 3. The distance between them is short, and both points provide strong defensive positions for a well-coordinated team. The direct path between these silos is exposed, so take care moving between them. Defending the low ground around Silo 1 can be difficult, but capturing it may draw enemies out to attack it, which can take pressure off your other forces.
Siege
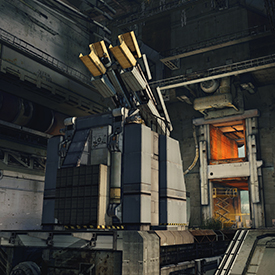
The energy stations on Wreckage are fairly close to each other, so be prepared for fierce, close-quarter combat while gathering energy. Once the battleship is launched, players will need to gain control of the AA located on the low, swampy ground beneath the aft engines. The silo is exposed and not easily defended, so make sure to have dedicated team members focused on keeping the high ground clear of enemies and watching for attacks on the flanks.
Deathmatch
As always, caution is encouraged when fighting solo on any battlefield. Pilots who seek to investigate Wreckage on their own should be prepared to face other scavengers searching for valuable resources. Avoid the center of the map if you can, and utilize the numerous vantage points and pathways to flank and ambush your foes. If you get into a dangerous situation, try to lose your enemies in the numerous narrow hallways inside the crashed ship.
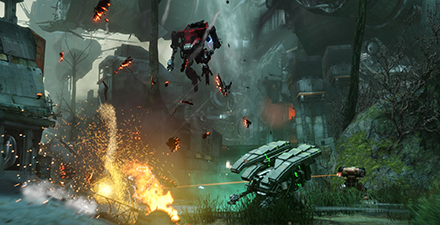
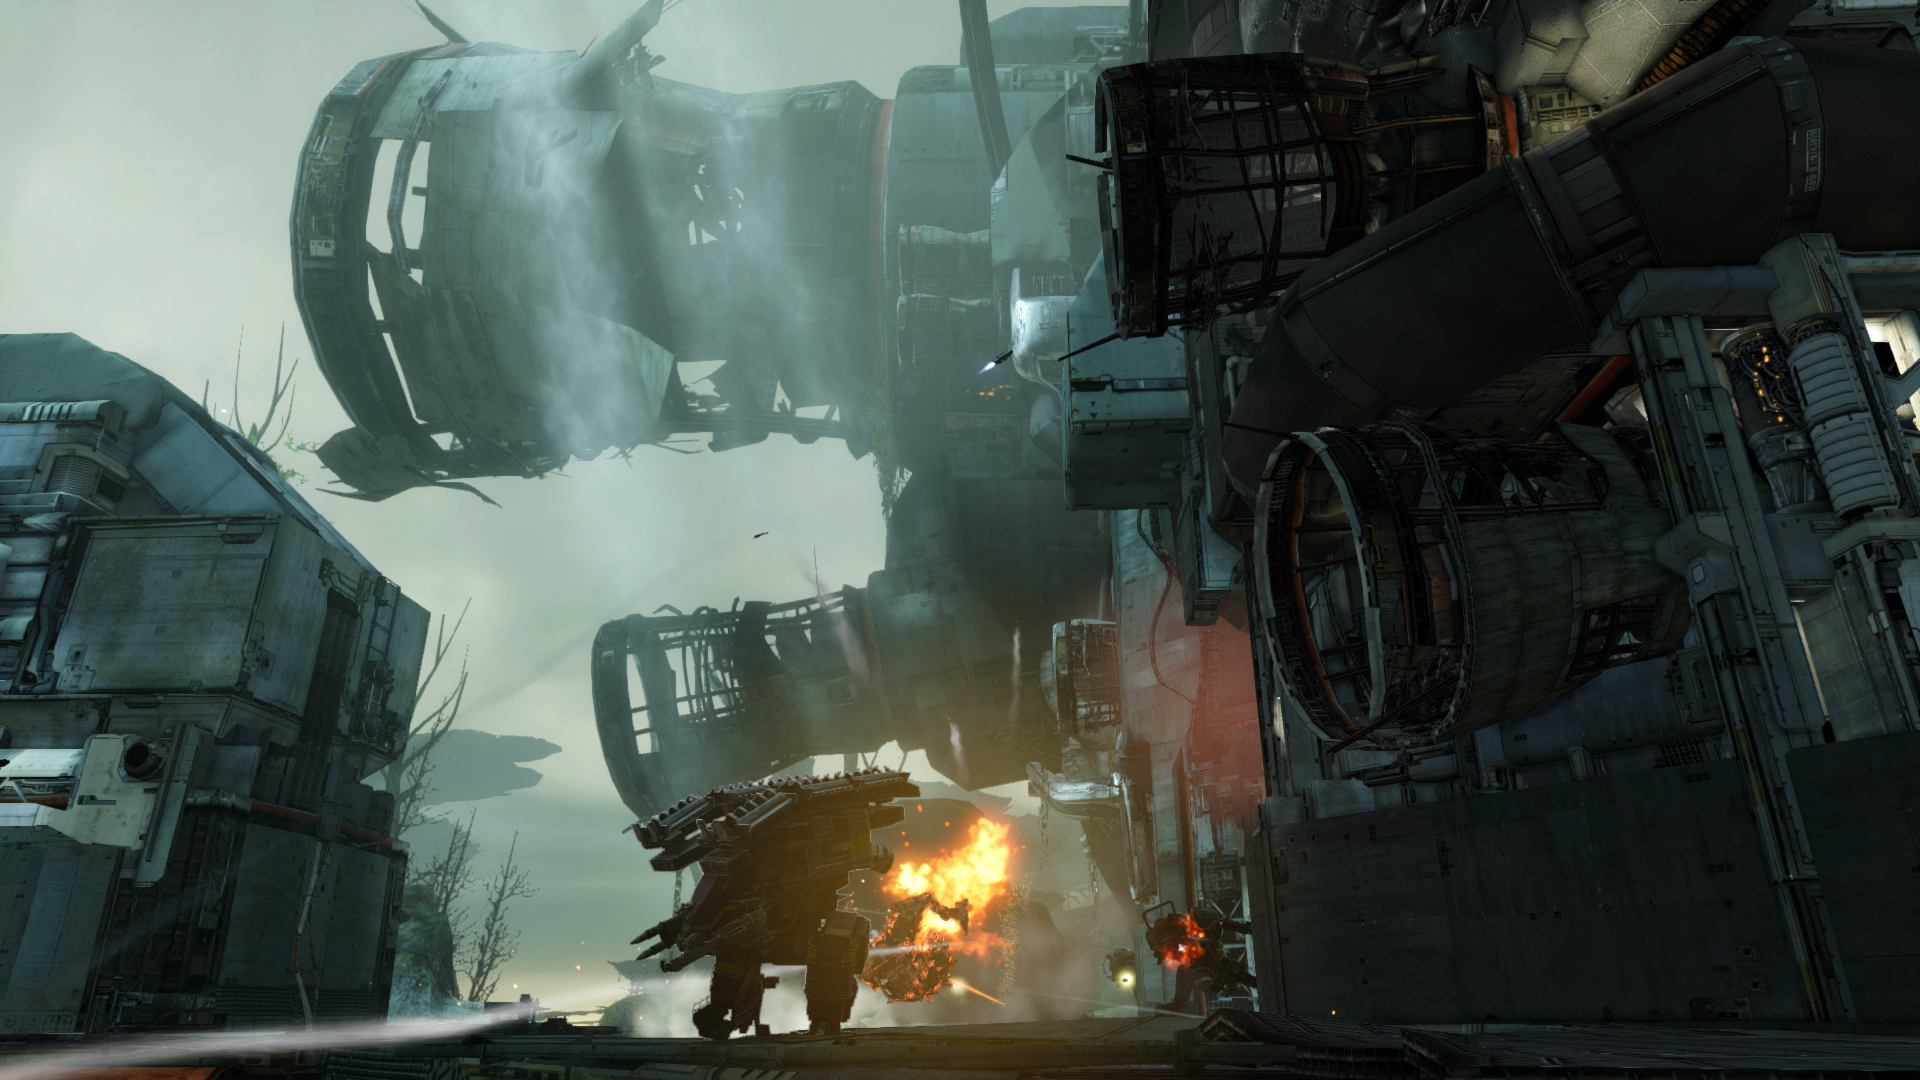
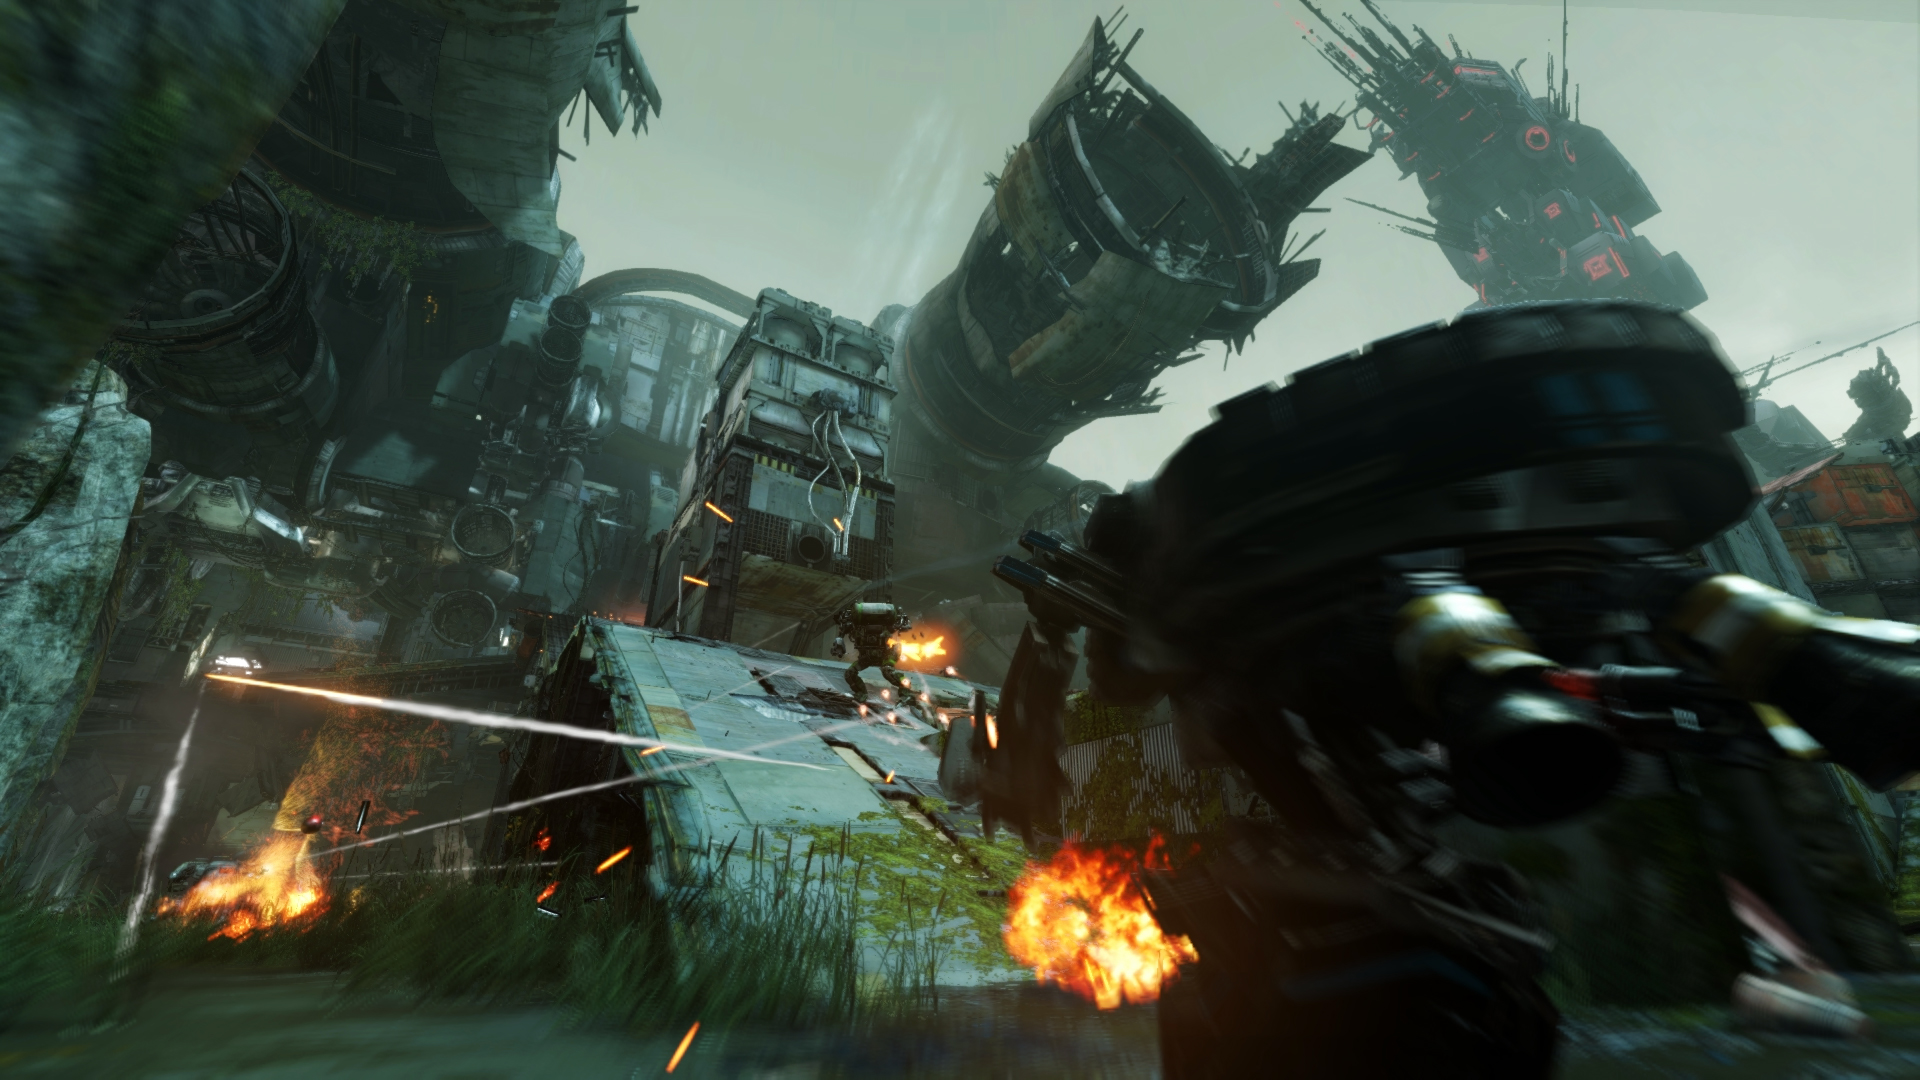
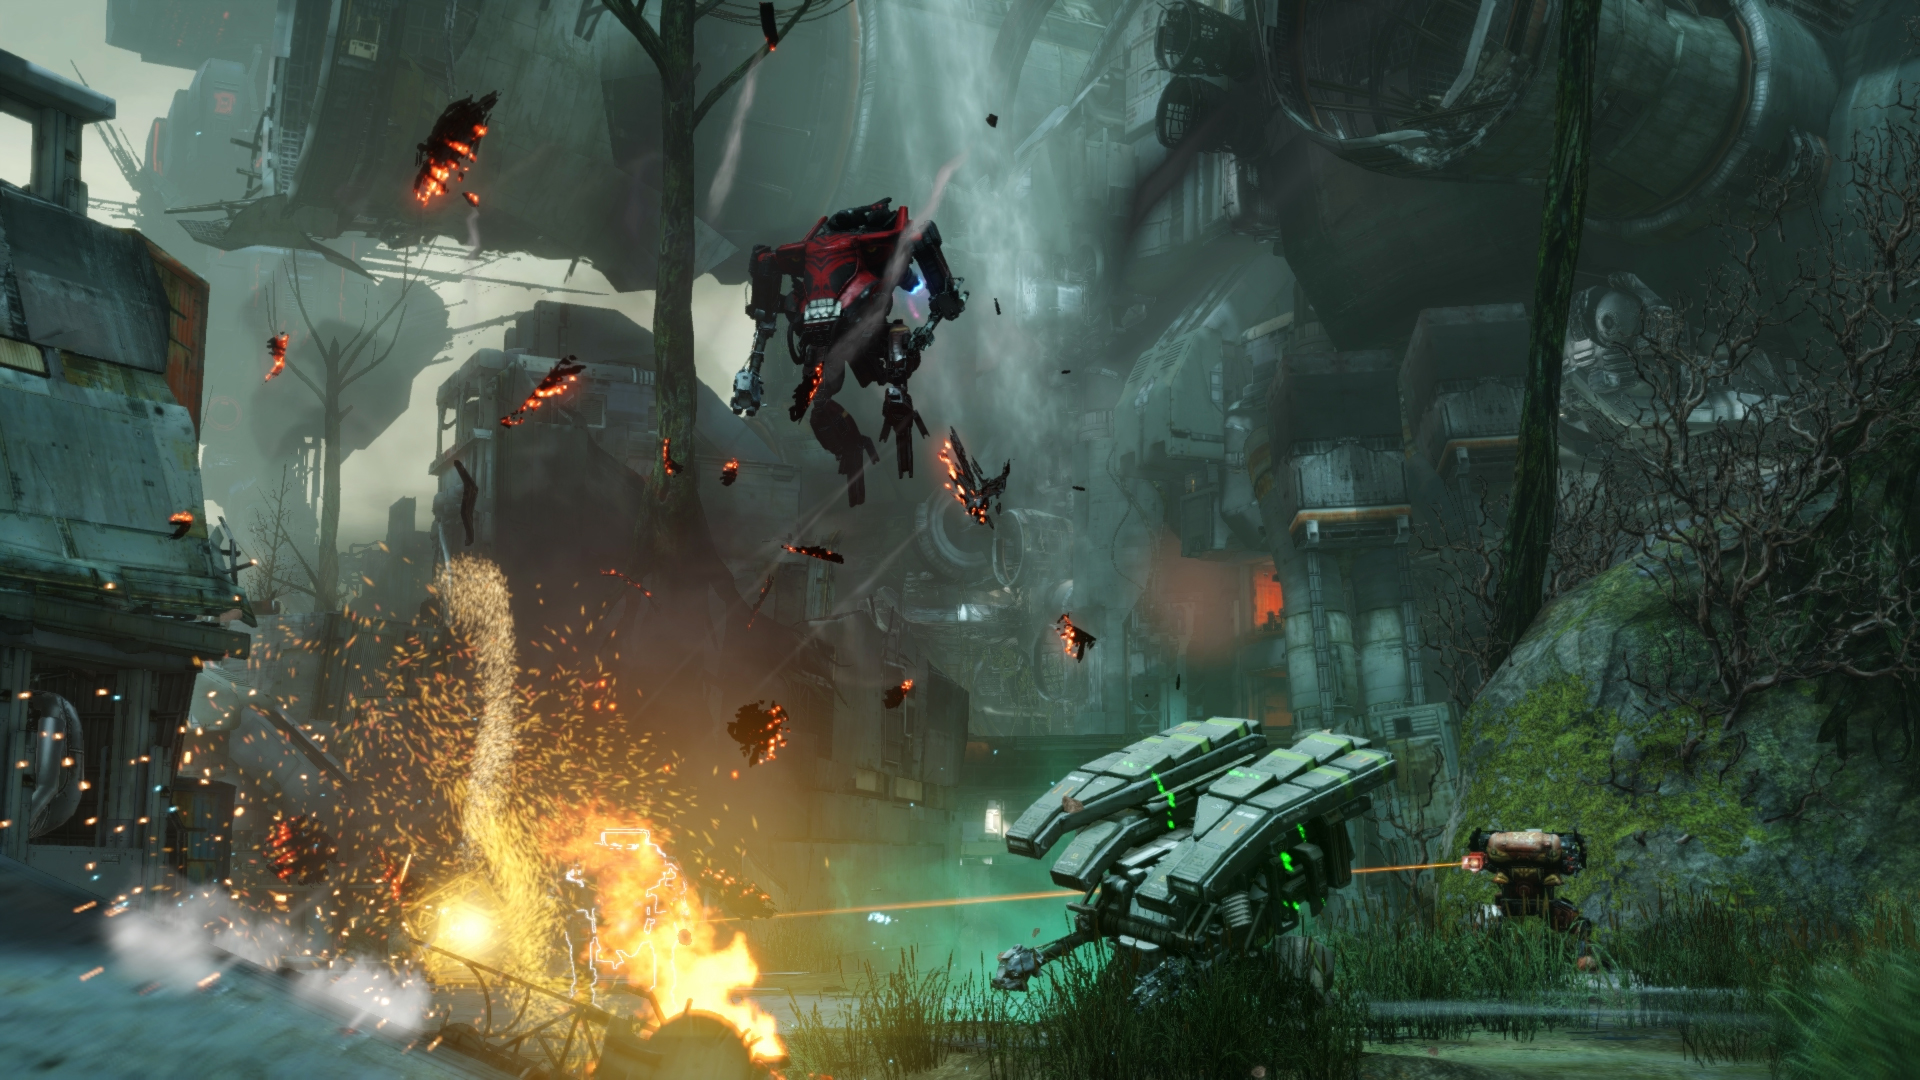
Media
Screenshots
Silo 1 is situated outside the crashed ship on low ground. The position is difficult to defend due to multiple paths that converge on the silo, so expect control of this point to change hands frequently.
Silo 2 is located in the center of the map in a small, confined area. Defending the numerous choke points leading to Silo 2 can discourage attackers, but once the perimeter is breached the point will be difficult to hold.
Silo 3 can be accessed by three wide paths that lead to it. Defending these open areas is difficult, but possible with a disciplined team. Conversely, a coordinated attack from multiple directions will leave defenders few options.
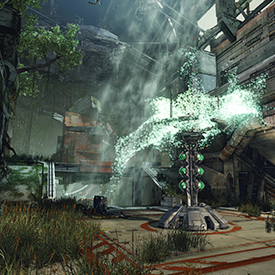
This is the spawn area for the Sentium team. Collect energy from the Energy Trees, and return it to the base to launch the Sentium battleship.
This is the spawn area for the Prosk team. Collect energy from the Energy Trees, and return it to the base to launch the Prosk battleship.
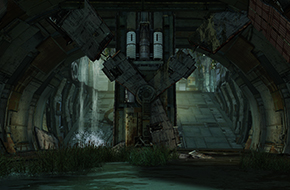
Energy Station 1 is located in between the Mech Storage Bays. Due to its positioning further away from the center of the map, this tree can be useful for gathering energy covertly if the main battles are focused on Energy Station 2.
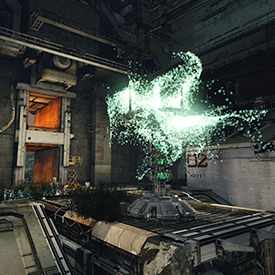
Energy Station 2 is located in the Aft Cargo Bay in the center of the map. The tight quarters make it difficult to gather energy without being disrupted, so teams will need to protect teammates who are gathering energy. Energy carriers should plan their exit route beforehand while their team focuses on locking down all other access points.
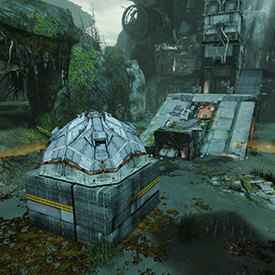
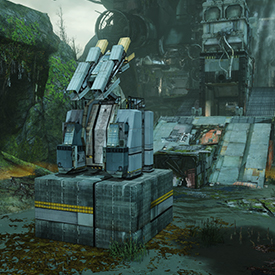
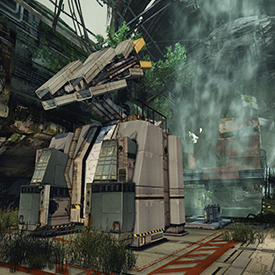
The AA silo is located on the low ground behind the ship. Approach from the flanks and rear of the silo, because the aft access ramp is exposed and easily covered. The silo is not easily defended, and will require teams to coordinate and cover each other to maintain control.
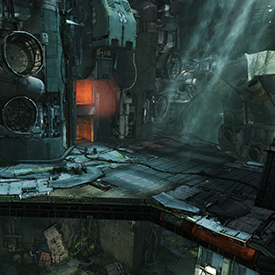
The aft section of the ship has a number of entrances, the primary one being the large ramp that leads to the cargo bay. Charging up this ramp can be dangerous if enemies hold the high ground, but it's the quickest way to reach the heart of the ship. If you want to take a more cautious and subtle route, the openings on the low ground can allow you to enter unnoticed.
The aft cargo bay is a fairly confined space with little room to maneuver. Pilots should plan their escape routes beforehand to avoid getting trapped if the battle starts to turn ugly.
The Mech Storage Bays can occasionally grant pilots an opportunity to bypass the heavy fighting occurring in the aft cargo bay. These paths can be useful for escaping or flanking foes, however pilots should use caution when traveling through sunken areas, because these can put you at a temporary disadvantage.