Origin
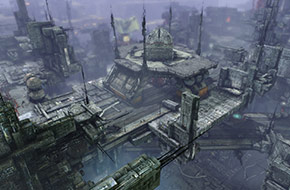
Crion Solutions created a man-made island and built a huge metropolis on top of it. However, the explosion at the Praxis Valley research facility blanketed the entire island with the Hawken virus, which transformed everything into metallic Giga-Structure.
Today, no human can survive the island's toxic atmosphere unprotected, so only mercenary mech pilots enter this section of the former Crion metropolis. They come to search for the valuable vitrolium left behind after vermin consume bits of the Giga Structure, and battle anyone who stands in their way.
Central Chasm
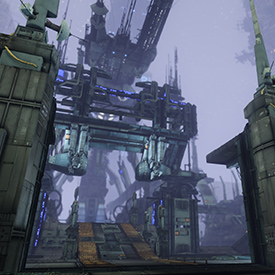
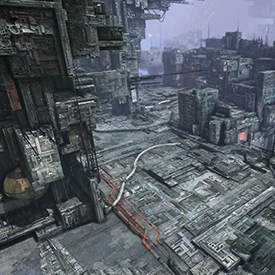
Residents once called it the pit: three layers of highways that connected to a vast network of underground roads running beneath Crion's mega-metropolis. Most of the tunnel entrances have been completely overgrown by the Giga-Structure, however.
Bridges and Jump Pads
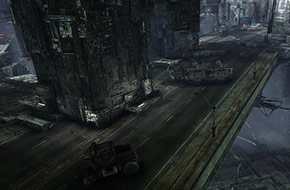
The bridges are decaying relics of their past glory. Parked vehicles sit abandoned, their keycards still in the ignitions. When corporate military forces arrived to plunder the ruins, they installed military grade jump pads for easy access to the upper levels.
Tunnel Entrances
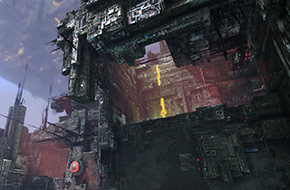
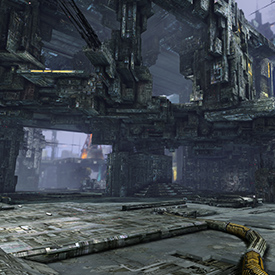
Remnants of the old underground highway entrances can be found on both sides of the bridge at either end of the pit. They now only lead to the lower tier of the bridge, their original function long forgot. These narrow passages have become choke boxes for close-quarter engagements.
Interactive Map
Plan Your Attack
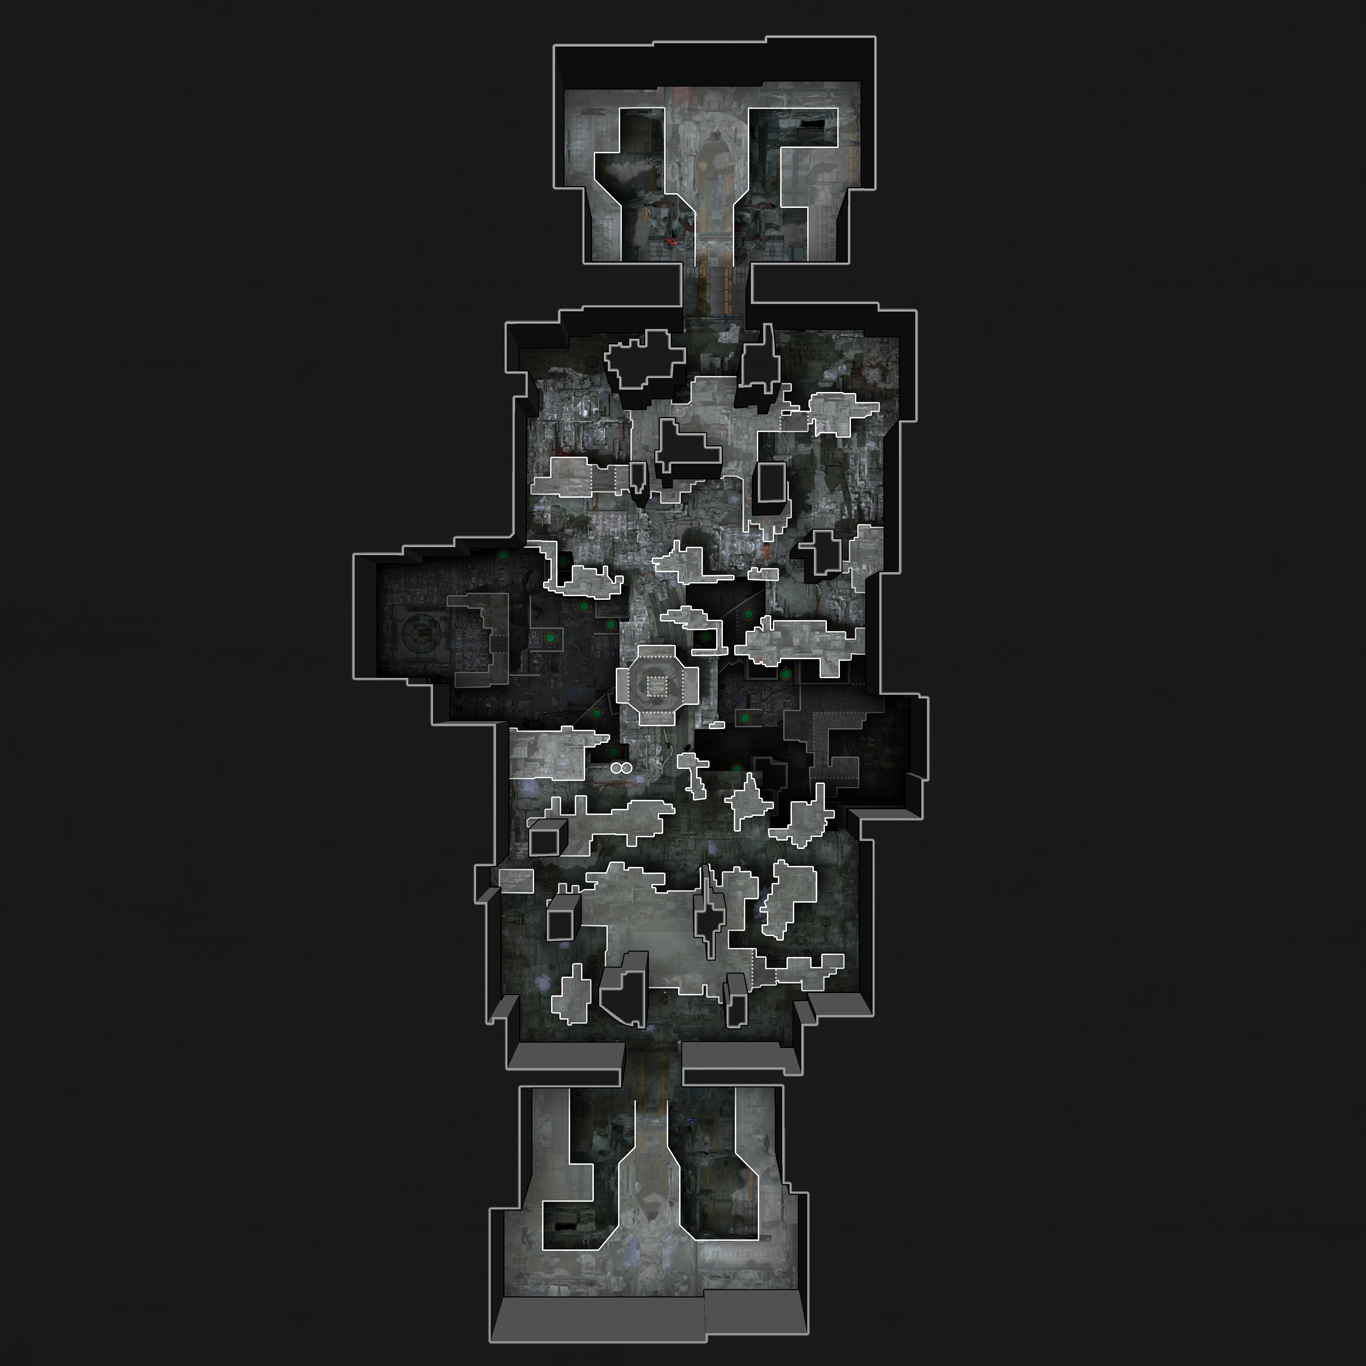
The map below depicts the terrain and pathways for Origin. Use the drop-down menu on the right to toggle between map states.
Strategy
Surviving in Origin
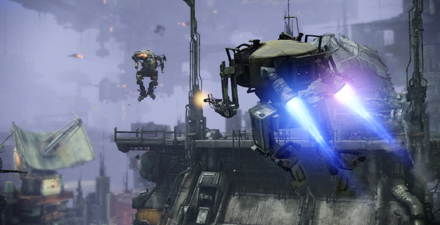
Origin forces pilots to think outside the box and take risks to survive and earn victories. You must utilize every trick and tactic you can think of to outwit your opponents.
Buried in the structures of Origin are a network of tunnels and passageways that skilled pilots can exploit. Use these passages to lose your pursuers or to stealthily approach an enemy's position.
Avoid fighting on the lower level when you can, as it lacks cover and is extremely vulnerable to attacks from above.
Team Deathmatch
Most engagements on Origin will take place on the center bridge as both teams attempt to take and hold the silo. Teams must balance coordinated assaults on the silo area with smaller, sneak attacks on the enemy's flank using the tunnel networks.
Missile Assault
The most common strategy for Missile Assault on Origin centers around taking and holding S2 while sending smaller groups to capture the other silos. Alternatively, you can ignore S2 altogether and hold S1 and S3 by using the lower level to quickly travel between them.
Siege
When playing Siege, EU runners should use the jump pads and tunnels to make quick escapes from danger and get back to their base safely. Just watch for snipers on the high ground as you gather energy.
Deathmatch
The key to surviving Deathmatch on Origin is to be as slippery as possible. Utilize jump pads, tunnels, and ledges to stay alive and achieve victory. Avoid the lower levels if possible because the lack of cover makes combat more dangerous there.
Media
Screenshots

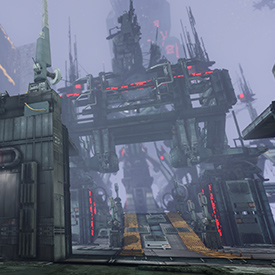
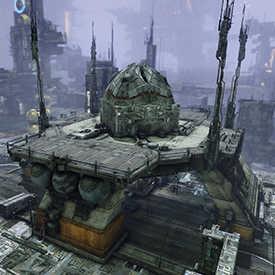
Silo 2 sits in the middle of the central sky-bridge. Pilots can stand on top of the silo and attack enemies below, but they become vulnerable to attacks from a distance.
Silo 1 is located on Origin's lower level to the west. Tall walls help shield the area from snipers on the high ground, so pilots capturing the point will have to choose between the three avenues of approach and engage in close-quarters combat.

Silo 3 is also on the lower level, but is located to the east. A platform above the silo protects it from most assaults, but can be used by daring attackers as a deadly vantage point.
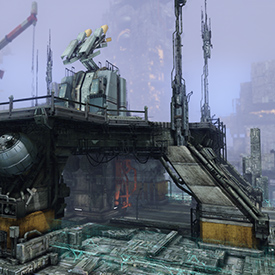
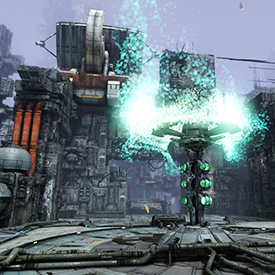
This is the spawn area for the Sentium team. Collect energy from the Energy Trees, and return it to the base to launch the Sentium battleship.
This is the spawn area for the Prosk team. Collect energy from the Energy Trees, and return it to the base to launch the Prosk battleship.
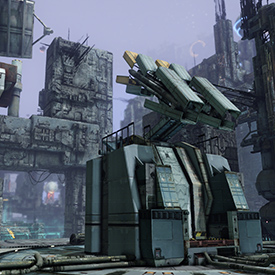
The narrow bridge where the AA is located creates a dangerous environment of close-quarters carnage. The bridge can be accessed by jump pads from the lower levels, allowing for deadly surprise attacks.
When gathering energy at E1, you're relatively protected from enemies on the high ground. However, you should always be prepared to make a quick getaway using the nearby jump pads.
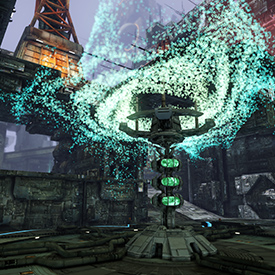
There's more ground cover here than at E1, but you are vulnerable from above if any enemies jump down onto the platform overlooking the Energy Tree.
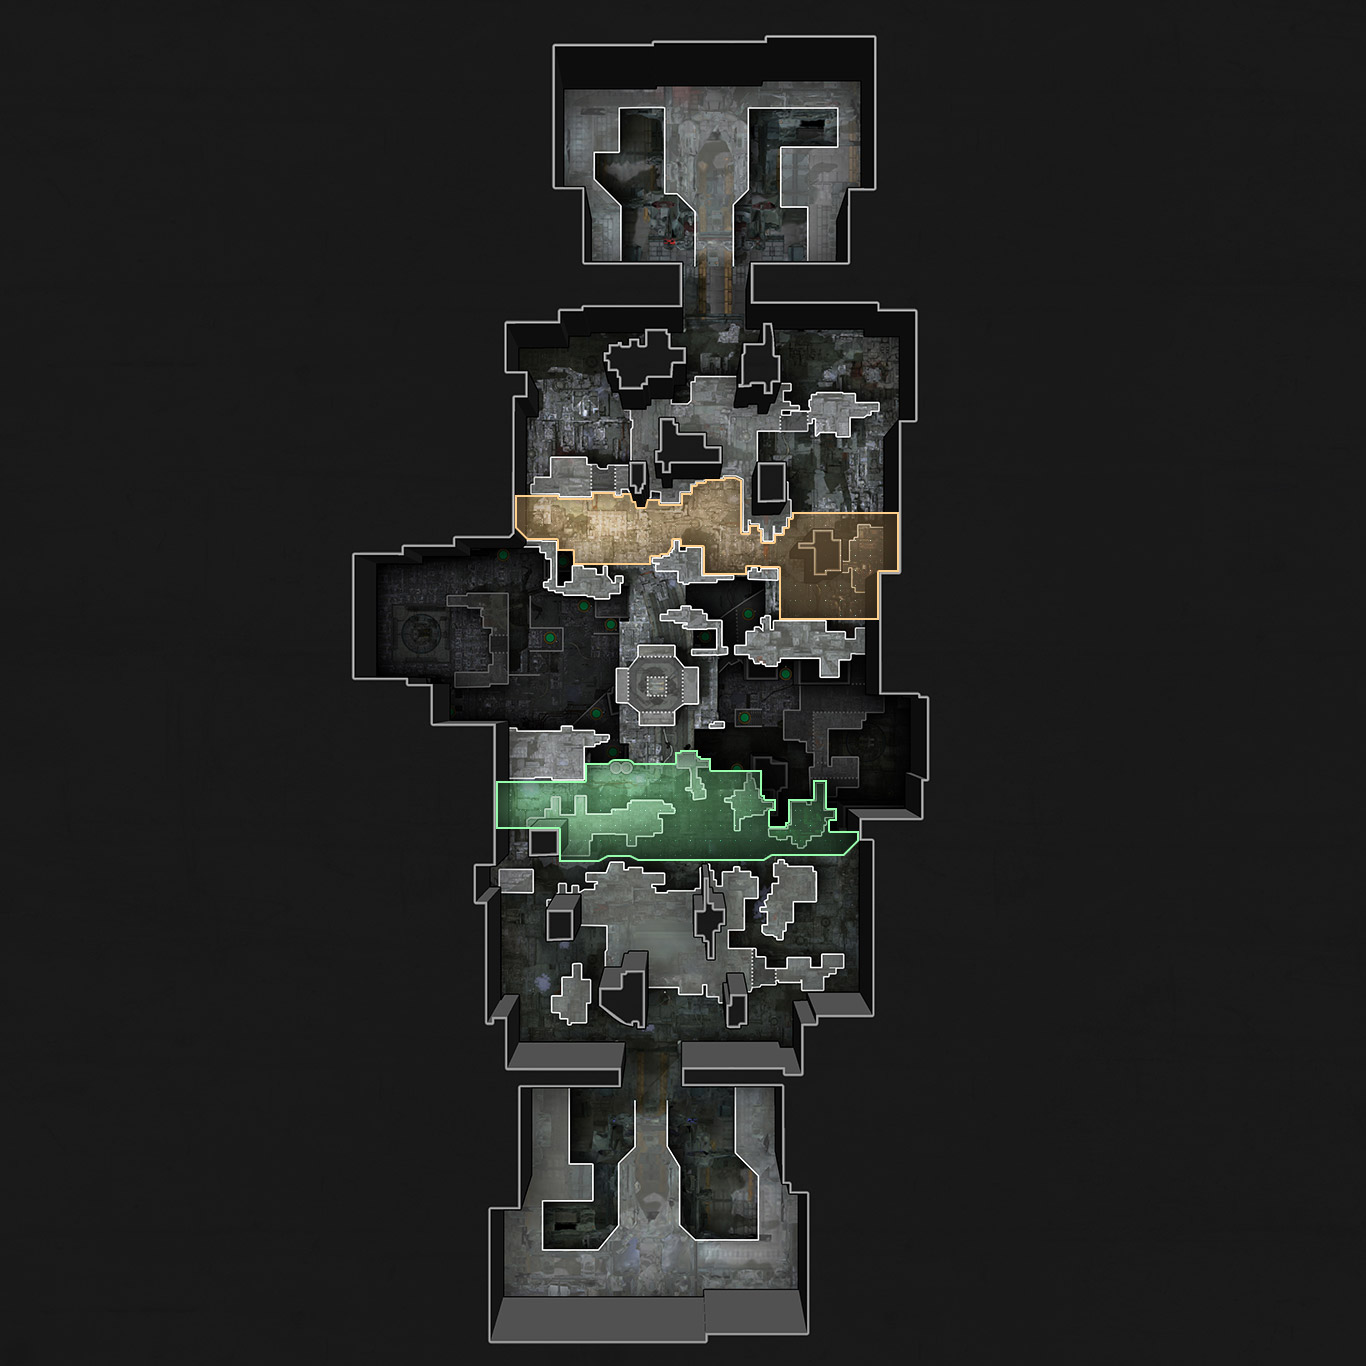
The Northern Platform has less cover than the Southern Platform and can be a difficult position to fight from. Fortunately, there are several openings nearby that allow for a quick escape to the lower level.
The structures on the Southern Platform provide decent cover for mechs engaged there. Pilots can climb some of these buildings to provide suppressive fire against enemies around the center silo.
The Lower Level of Origin is open and void of significant cover. However, clever pilots can use the large pillars underneath the bridge to escape enemies or set up an ambush.