Facility
Sentium's Hiedron ore-extraction facility was originally built to harvest and process cavorite. Its current purpose is classified, but Prosk forces have been spotted skirmishing with Sentium forces around the facility, so it must have some strategic importance.
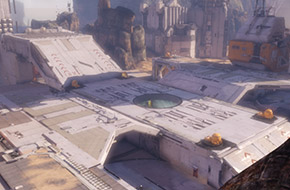
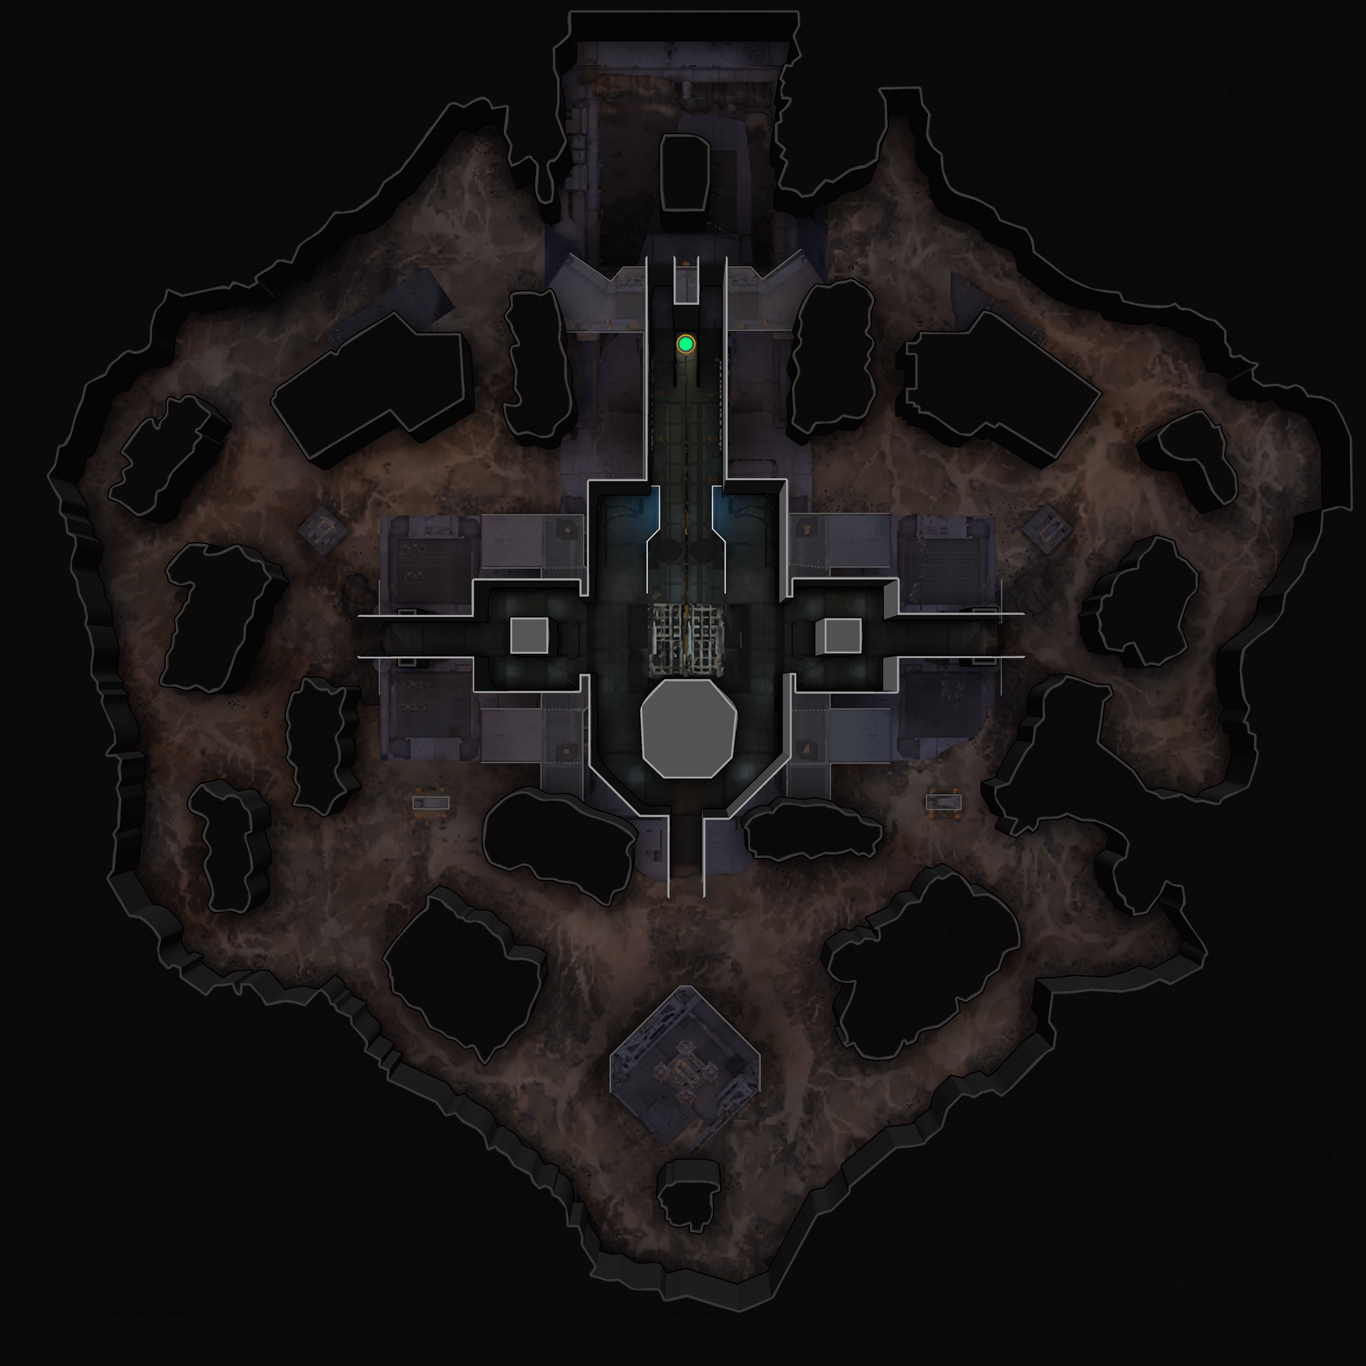
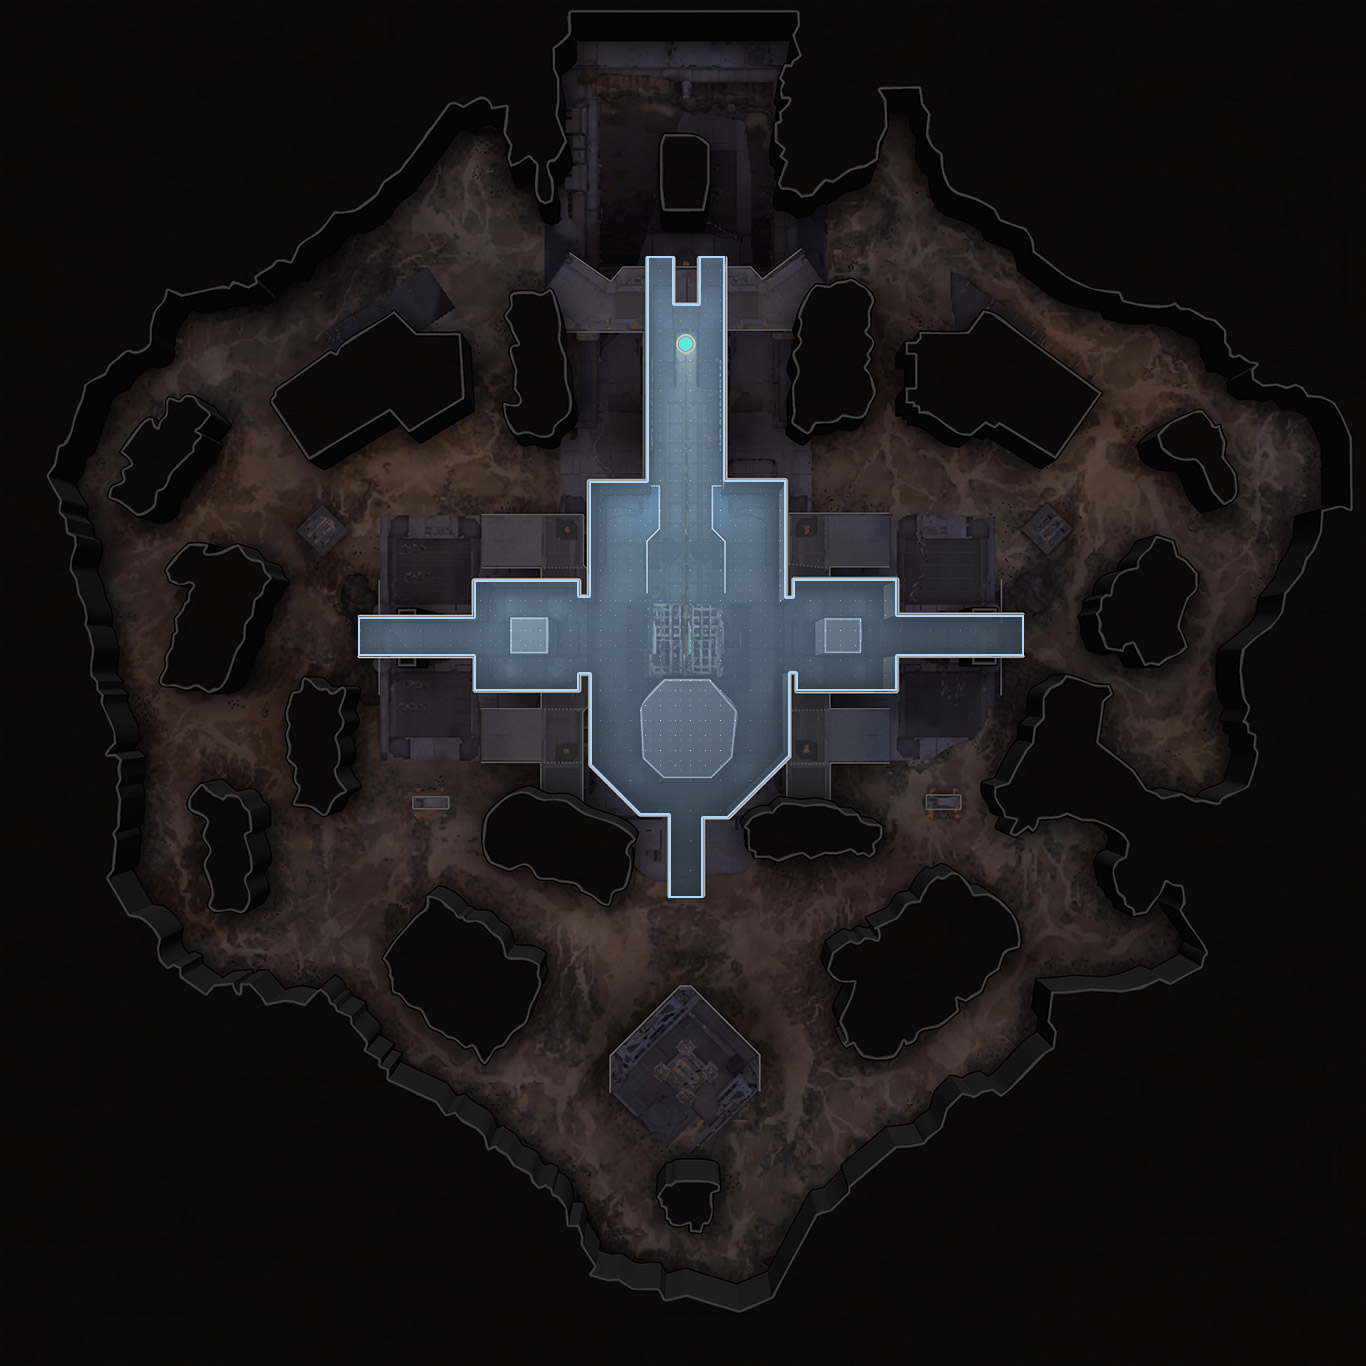
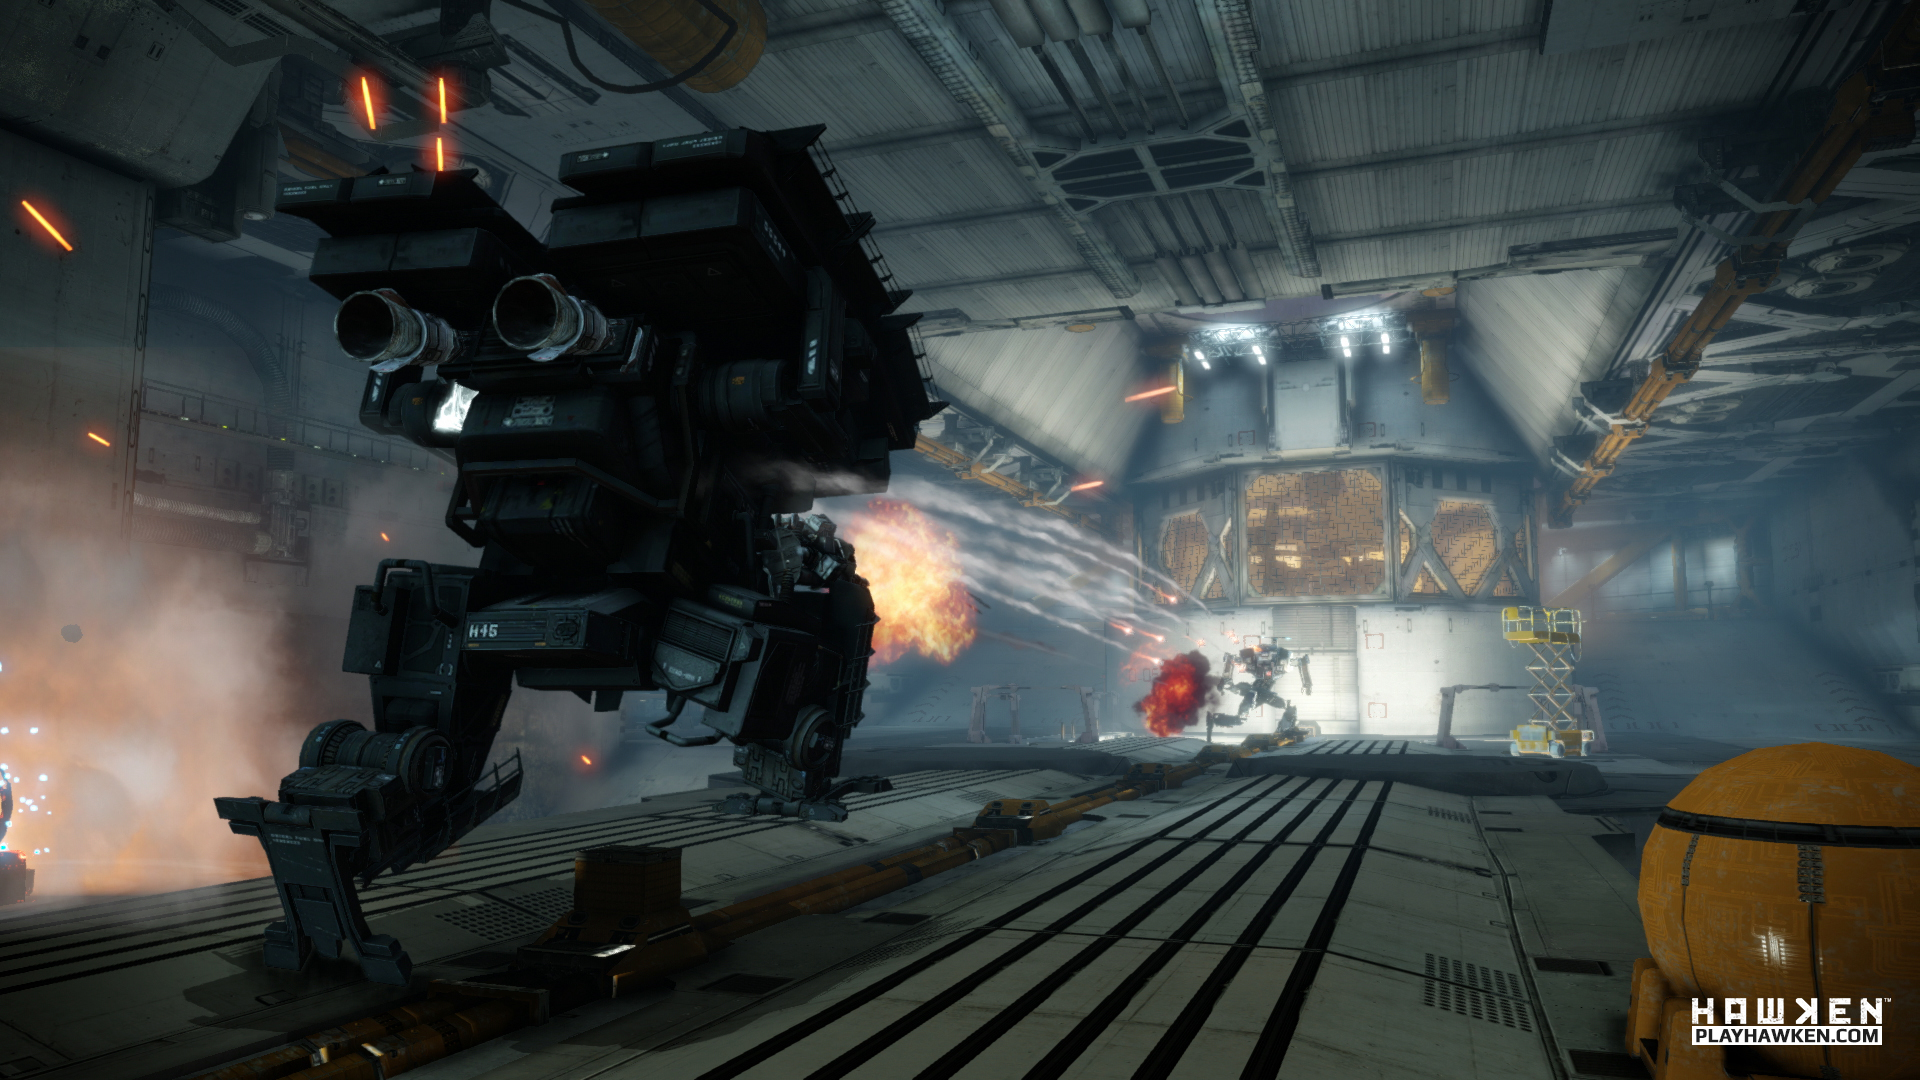
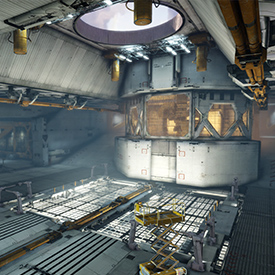
Central Structure
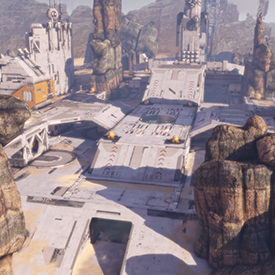
The interior of the facility is a series of corridors connected by ramps, overlooked by a central ore extraction hatch in the ceiling. This arrangement forces units to engage in frantic, close-quarters combat. Retreat to these areas for long is ill-advised due to the multiple entryways.
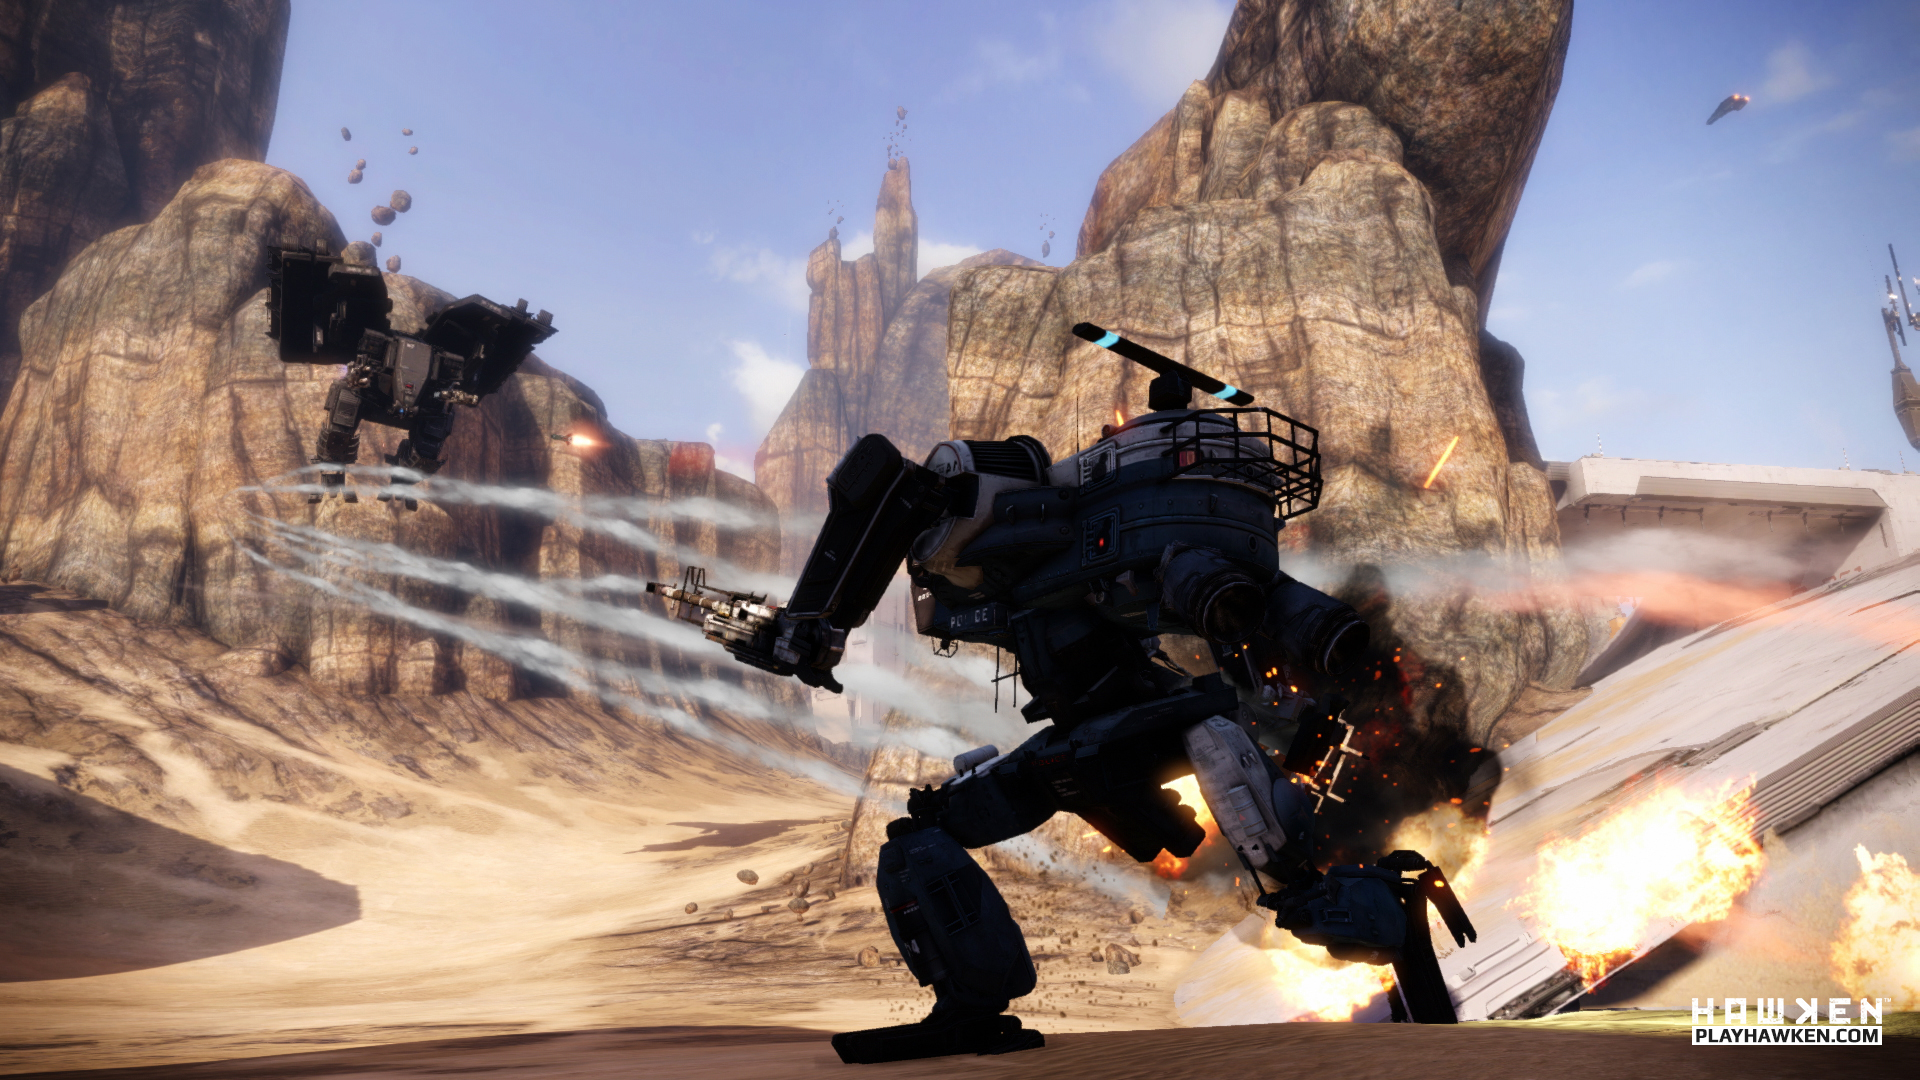
Desert Pathways
The area surrounding the facility is littered with snaking paths that were cleared long ago for ore carriers and fuel trucks. These paths allow raiders easy access to the outer perimeter. Defenders are advised to keep a close eye on the radar to spot potential ambushes.
Southern Pit
This pit allowed ore to be dumped onto conveyors that carried it into the long processing tunnels. It now provides an escape route for pilots under heavy fire. Support pillars create pockets of cover, but units retreating through here must move quickly. It's easy to get boxed in.
Interactive Map
Plan Your Attack
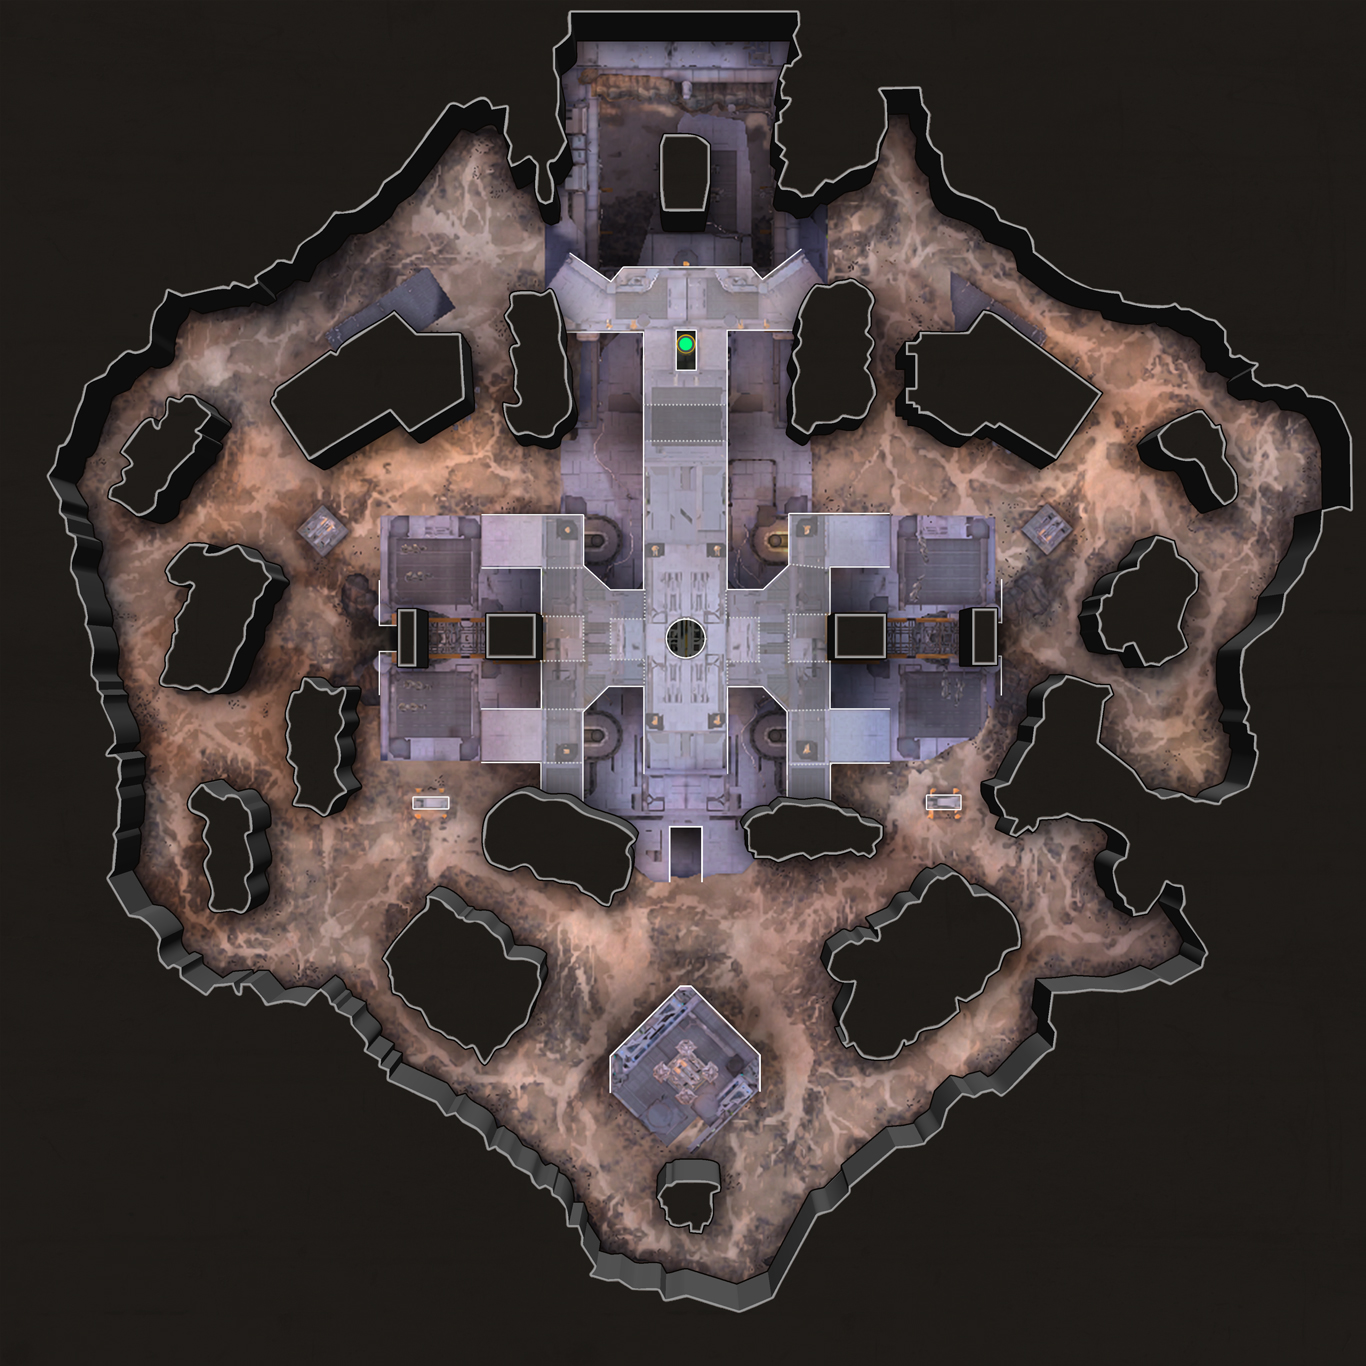
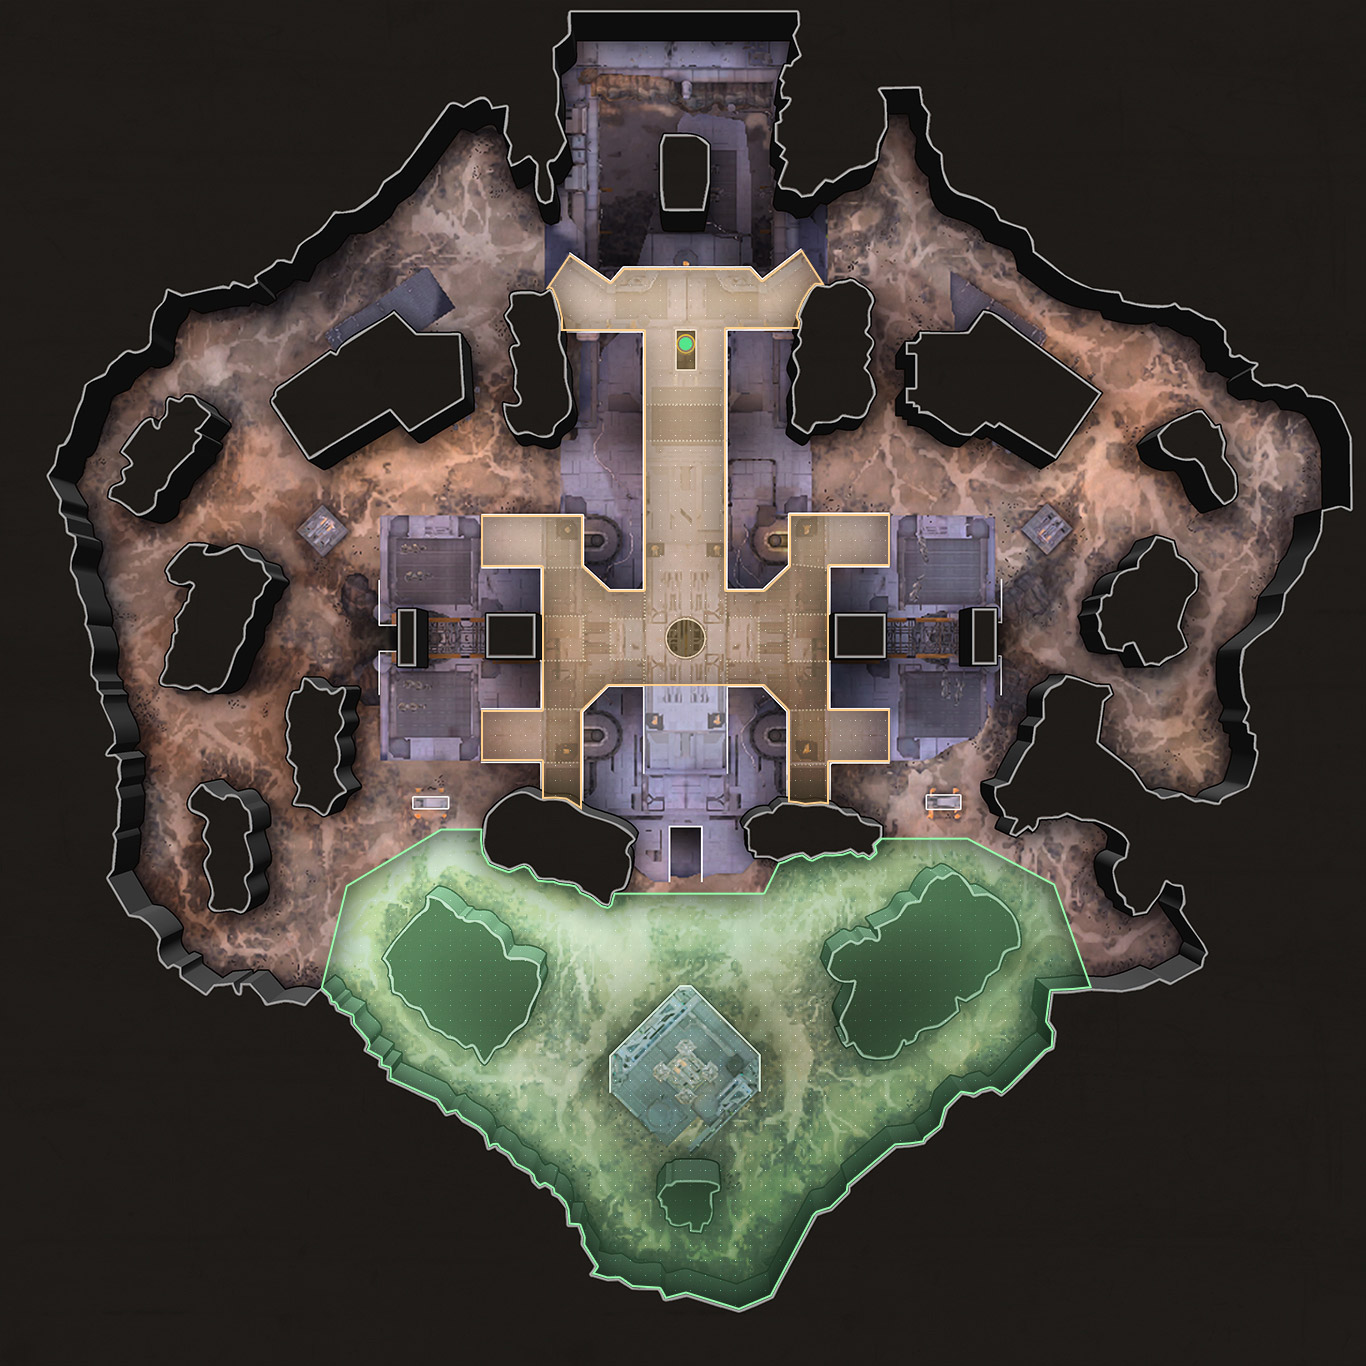
The map below depicts the terrain and pathways for Facility. Use the drop-down menu on the right to toggle between map states.
Strategy
Surviving in Facility
Facility may not be the largest map, but it is certainly one of the most open and expansive. You can expect plenty of snipers to take advantage of this fact and be ready to punish pilots who wander into the open.
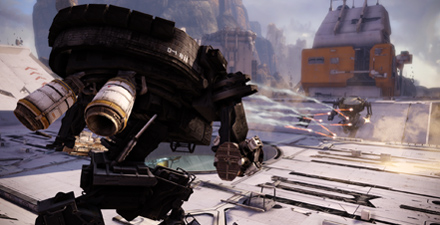
The roof of the Facility can be used for traveling from one side to the other, or ambushing enemy mechs on the ground below. The interior is excellent for surprise attacks and navigating the map safely.
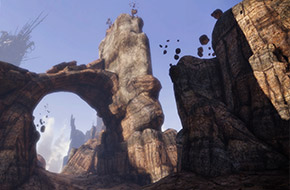
The facility outskirts are littered with natural rock formations that can be used for cover. Pilots can also navigate the outskirts and approach enemy snipers at S2 unseen.
Team Deathmatch
Teams playing on Facility must focus on staying together, as it's easy to get separated due to the many passages and changes in elevation. Post one of your snipers at S2 when you choose to engage the enemy team on the Facility's roof.
Missile Assault
Due to the triangular shape of the map, capturing any two of the three silos is a solid strategy. Holding S1 and S3 allows your team to use the Facility interior to travel between the silos. Another strategy centers around focusing on S2 to give your team more map vision, and then striking out to attack the other silos.
Deathmatch
When playing Deathmatch on Facility, focus your attention on eluding and ambushing enemies by skillfully navigating between the roof and interior. Use the many avenues open to you to confuse targets and catch them by surprise.
Media
Video Overview
Screenshots
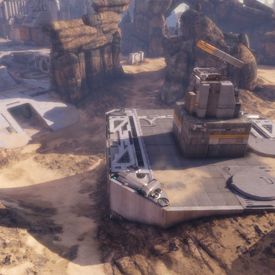
Silo 3 is located on the western edge of Facility. Both S1 and S3 require strong team coordination to capture and hold due to their difficult positions.
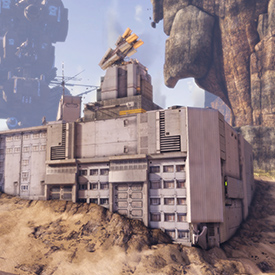
Silo 1 is located to the east, and is almost a mirror image of Silo 3. The cover surrounding it is sparse, so fights at this location are often fast and frantic. Watch out for enemies exiting the facility from the underground passage nearby.
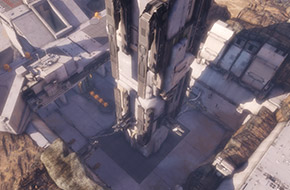
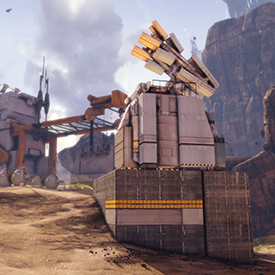
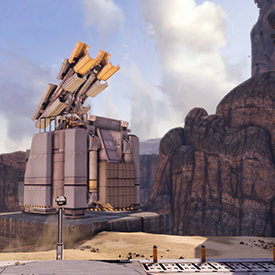
Silo 2 is located to the south, resting on a high structure that overlooks the facility. This high ground is excellent for snipers who can cover the large open area from here.
Mechs engaged on top of the Facility are exposed to possible sniper fire from enemies at S2. Staying off the roof is generally the smartest move, but it can be useful for getting the drop on unsuspecting mechs below.
This area of the map attracts numerous conflicts due to S2's excellent sniper position. Pilots should use the two large boulders on the flanks of the S2 platform when approaching enemy snipers.
The interior of the Facility is useful for remaining hidden while traversing the map. Use the interior to avoid enemies and attack them when they least suspect it.