Front Line
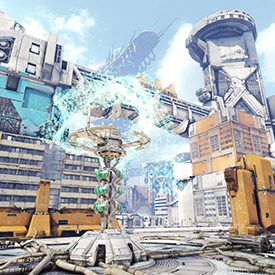
Tensions continue to mount between Prosk and Sentium. Nowhere is this more evident than in the metropolis of Ganev where the two corporations have laid claim to overlapping zones, splitting families across the city.
Today, skirmishes are held hourly on the wide city streets and surrounding highways, and civilians are advised to stay indoors at all times. Ganev has turned into a front-line battle in the war to control the flow of vitrolium.

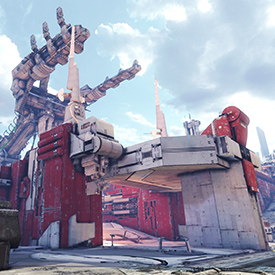
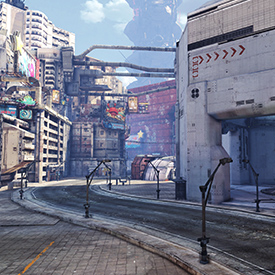
Prosk vs. Sentium
The city was divided down the middle long ago, and both companies worked side by side until recently. Sentium maintains their zones, with armies of cleaning robots that work by night, while Prosk created dense urban areas and allowed their districts to fall into disrepair.
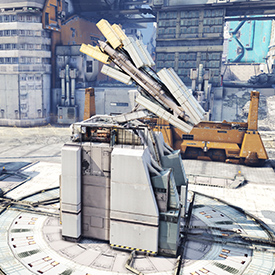
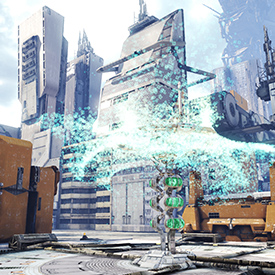
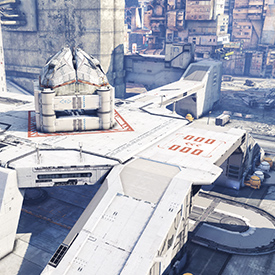
Central Courtyard
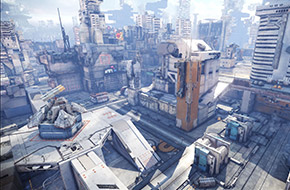
The central anti-aircraft battery used to be a restricted area. Now it's a highly-contested strategic location, with numerous vantage points, elevated cover, and support ramps. Controlling this space can be the key to many battles fought in Ganev.
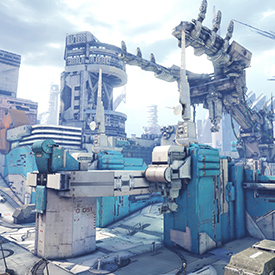
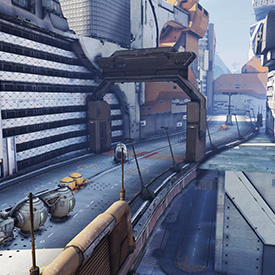
Highways and Byways
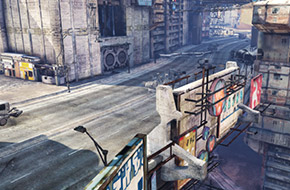
Vast highway overpasses on either side of the city once provided residents easy access to offices and shops. Now, they're used as elevated firing positions, or as a way to skirt battles in the courtyard. The foundations also provide cover for ambushes, so use them strategically.
Interactive Map
Plan Your Attack
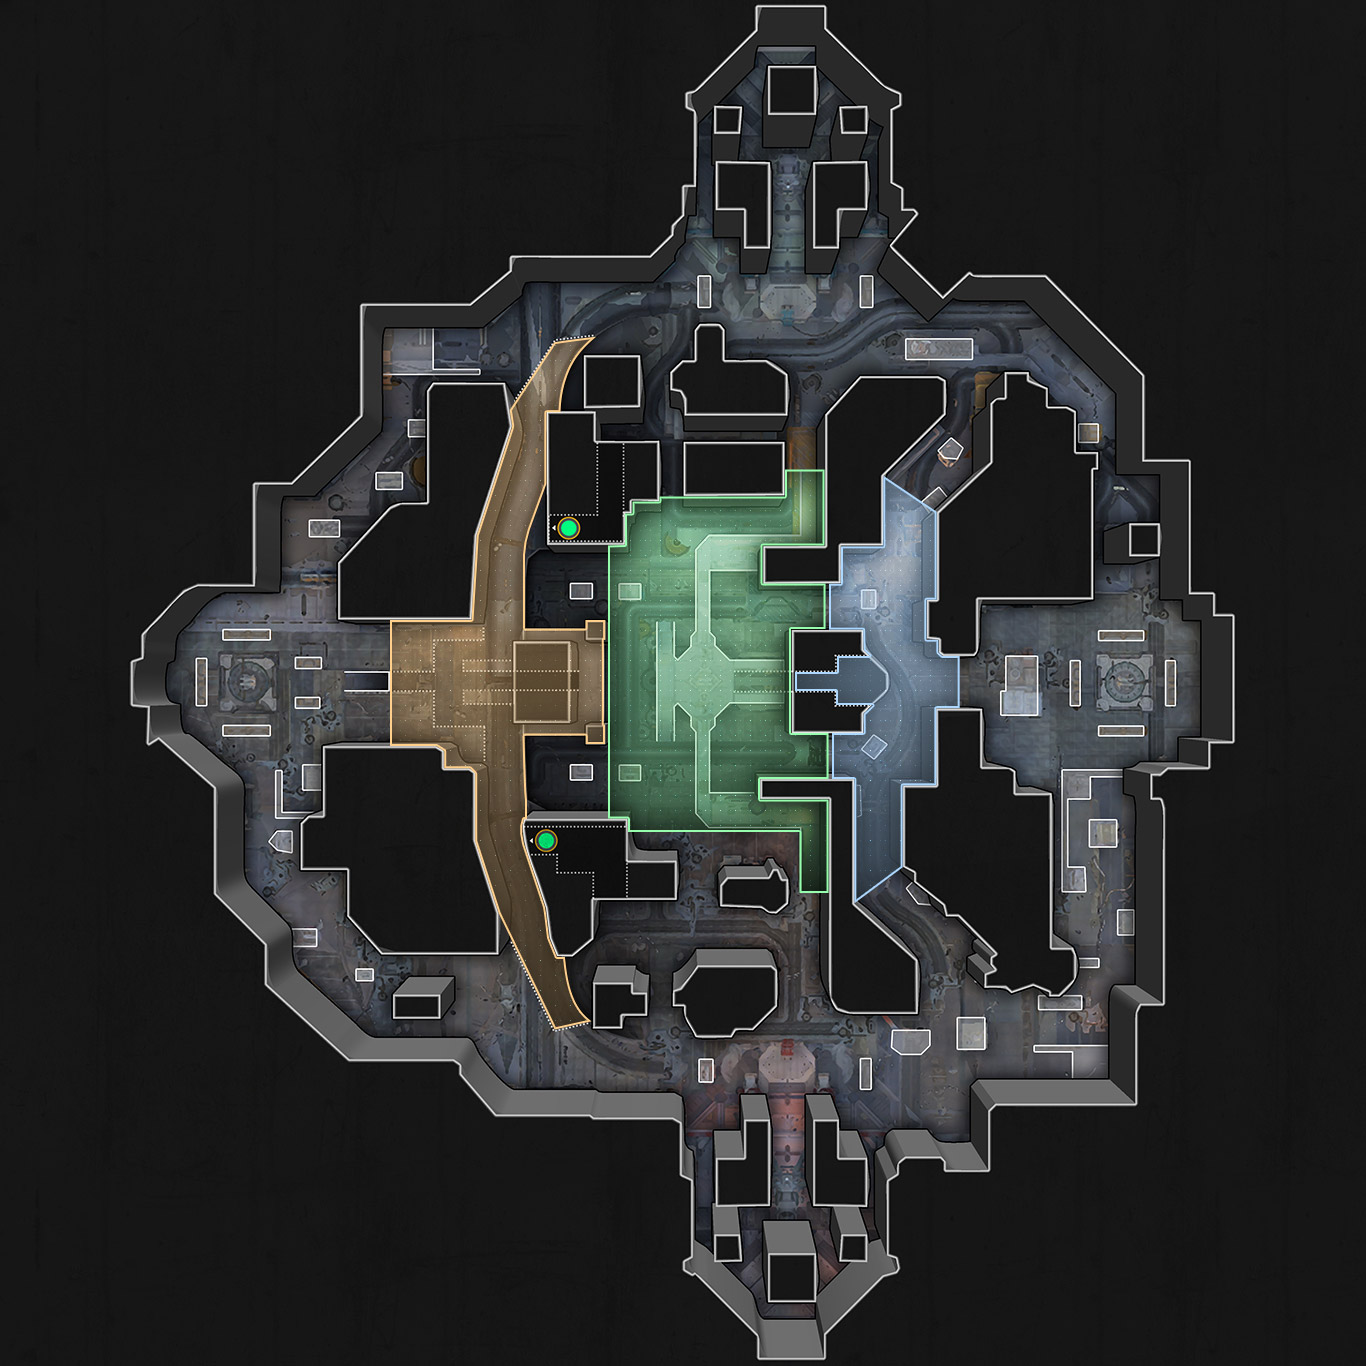
The map below depicts the terrain and pathways for Front Line. Use the drop-down menu on the right to toggle between map states.
Strategy
Surviving in Front Line
Front Line is a massive urban environment that presents pilots with a multitude of tactical options. The western and eastern edges of the map are large and open, aside from a few buildings that can be used for cover. Battles become intense in the center of the map as pilots fight for control of the city.
Survival on Front Line depends on your ability to protect vital approach paths on the map and defend your position or objective. Pilots must also be able to take and hold the high ground on the map, as it grants a significant advantage.
Team Deathmatch
Taking the high ground on the south side of the map is a powerful strategy for your team. With good communication and coordination, a skilled team can hold its position against even the most ruthless attackers. To take this position from the enemy, use the jump pads, ramps, and low structures that all provide access to the upper levels in well-timed assault from multiple positions to make the enemy line crumble.
Missile Assault
Holding the center silo (S2) should be your top priority on Front Line. the team controlling S2 can respond quickly to any battles taking place at S1 or S3. Victory will be achieved by the team that takes advantage of these tactical options and defends against them as well.
Siege
Much like Missile Assault, success in Siege primarily depends on your team's ability to take and hold the center, which holds the AA. The long distances between EU trees and bases presents a large window for ambushing enemy mechs carrying EU. Even losing one load of energy can change the tide of the game, so always be ready to go hunting.
Deathmatch
When playing Deathmatch on Front Line, utilize the western and eastern edges of the map to approach action from a different direction and catch enemies by surprise. If you become engaged in battle in the middle of the map, keep an eye out for mechs perched on the high ground looking for an easy kill. If the fight gets too rough, try to make a quick escape through the tunnel underneath the center silo.
Media
Video Overview
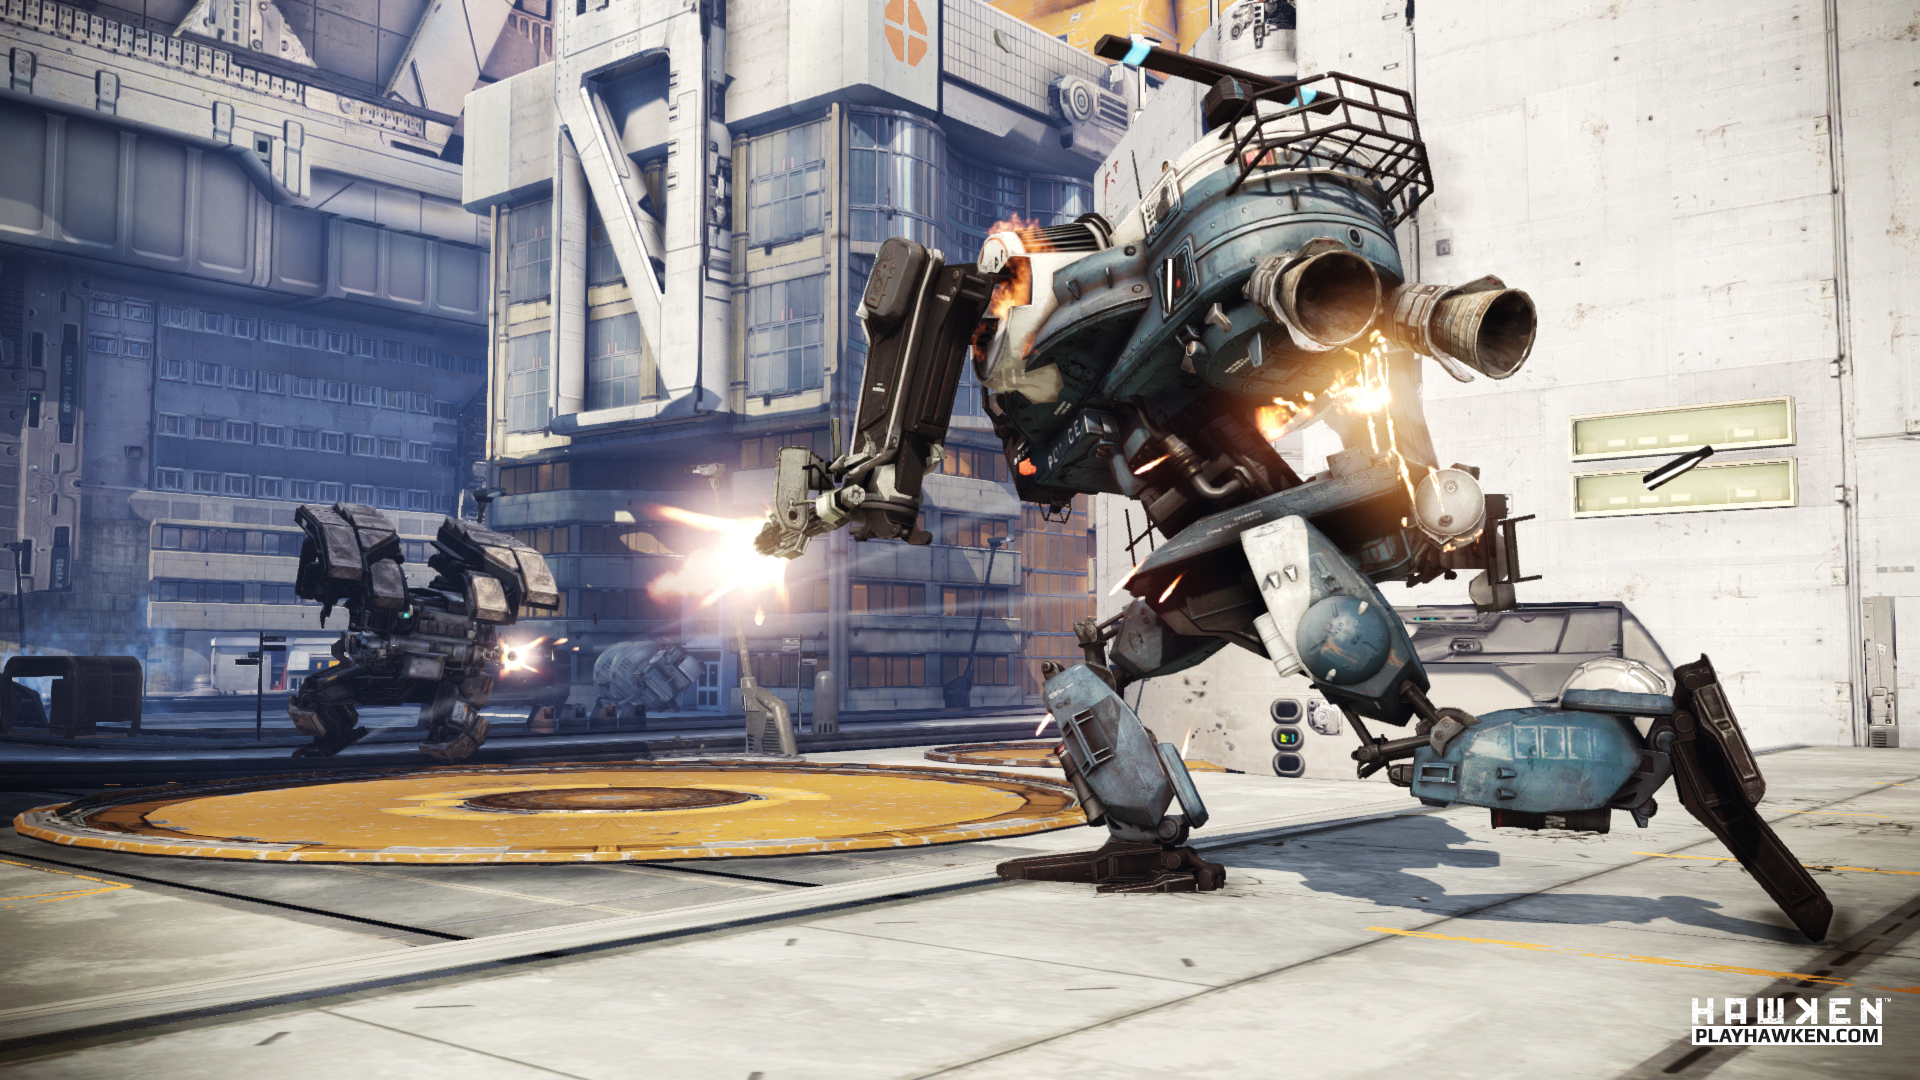
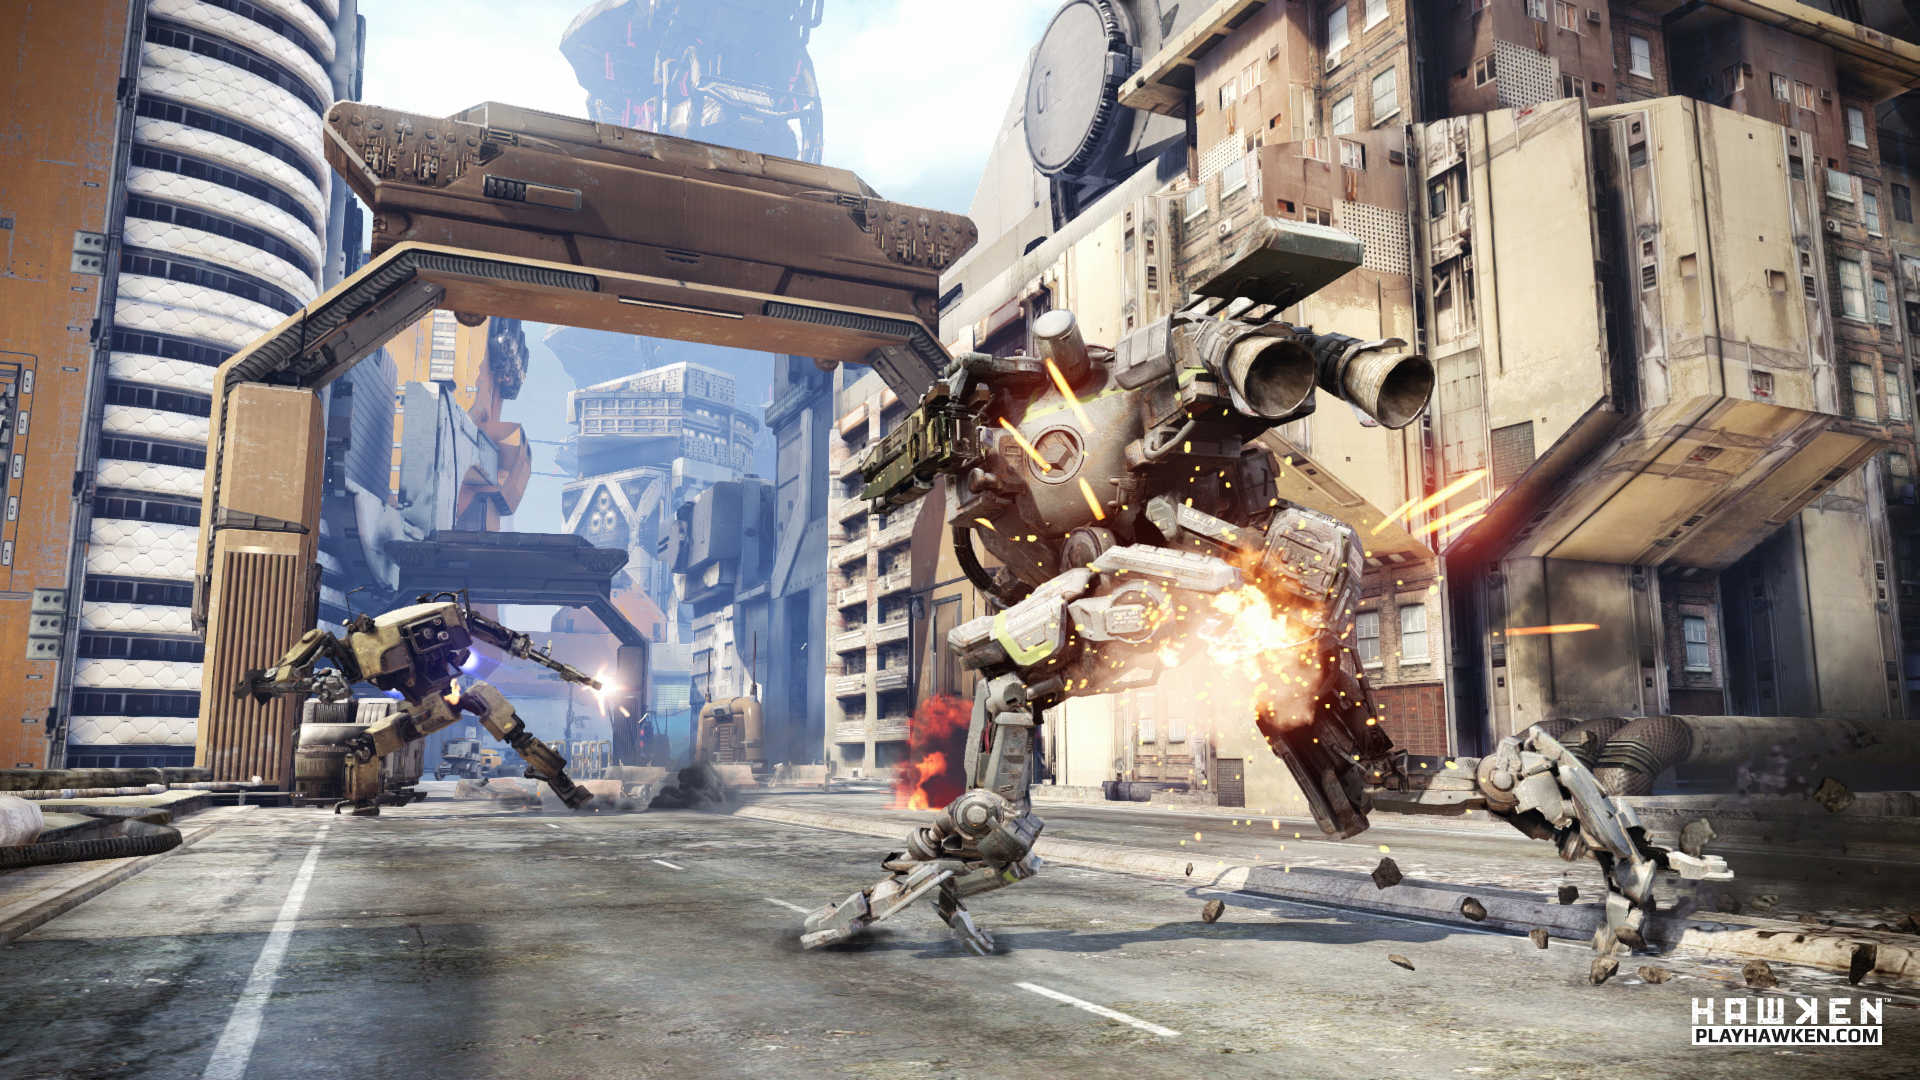
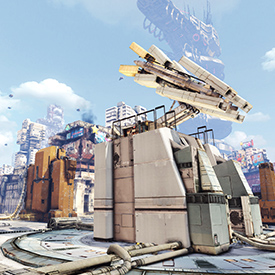
Screenshots
When engaged at this position, utilize the walls surrounding the point for cover. If retreat becomes necessary, you can flee to the lower levels using the ramp that leads toward the center of the map.

Use the small access tunnel to surprise defenders underneath the silo, and use the high-ground positions surrounding the silo to gain vantage points on enemies and attack from a distance.
Like Silo 1, this position has several walls you can use for cover. However, escaping this position can be more difficult, and pilots must constantly be aware of incoming threats.
This is the spawn area for the Sentium team. Collect energy from the Energy Trees, and return it to the base to launch the Sentium battleship.
This is the spawn area for the Prosk team. Collect energy from the Energy Trees, and return it to the base to launch the Prosk battleship.
When engaged at this position, utilize the walls surrounding the point for cover. If retreat becomes necessary, you can flee to the lower levels using the ramp that leads toward the center of the map.
Like Energy Tree 1, this position has several walls you can use for cover. However, escaping this position can be more difficult, and pilots must constantly be aware of incoming threats.
Use the small access tunnel to surprise defenders underneath the silo, and use the high-ground positions surrounding the AA to gain vantage points on enemies and attack from a distance.
Securing this piece of high ground can provide an excellent advantage over opponents, but it lacks any significant cover, limiting your survival options once action heats up. Always keep an eye on your flanks and be prepared to retreat at any moment.
The majority of engagements on Front Line will occur around the center silo. You can fight underneath to avoid mechs perched on surrounding high ground, and escape through the tunnel if necessary. Or, you can choose to fight on top and use the silo itself for cover. You may also have to cross the two bridges leading to the silo to remove pesky snipers from their positions.
Use this road to approach the center silo from the side and enter the small tunnel that leads underneath it. While this road may not hold much valuable cover or objective, its position between the center and eastern objectives make it a vital position.