Bazaar
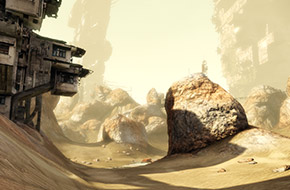
Brosos was one of the first cities, built in the shadow of an old terraforming hub. The facility broke down shortly after the Hawken virus outbreak, and the companies packed up and left.
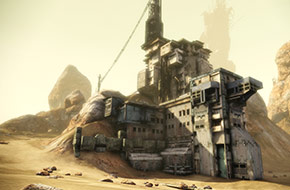
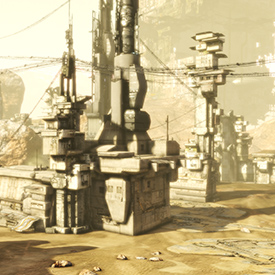
All that remains of the terraforming operation are the communication pillars, buried in the sand. However, the discovery of vitrolium has made Brosos a hub of activity again, as both Prosk and Sentium installed bases from which mercenary mech pilots can deploy to search for valuable vitrolium deposits.
Mountain Ridge
The settlement of Brosos was built in the shadow of the Brosian mountain range. These ridges used to be the bane of corporate supply pilots, as numerous choke points provided ample ambush points along the supply routes. After the outbreak of the Hawken virus, the range provided natural cover for scavengers.
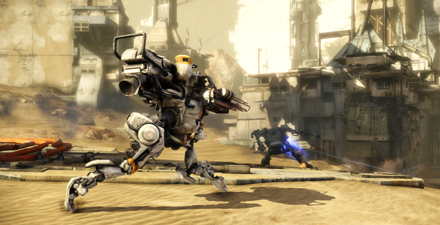
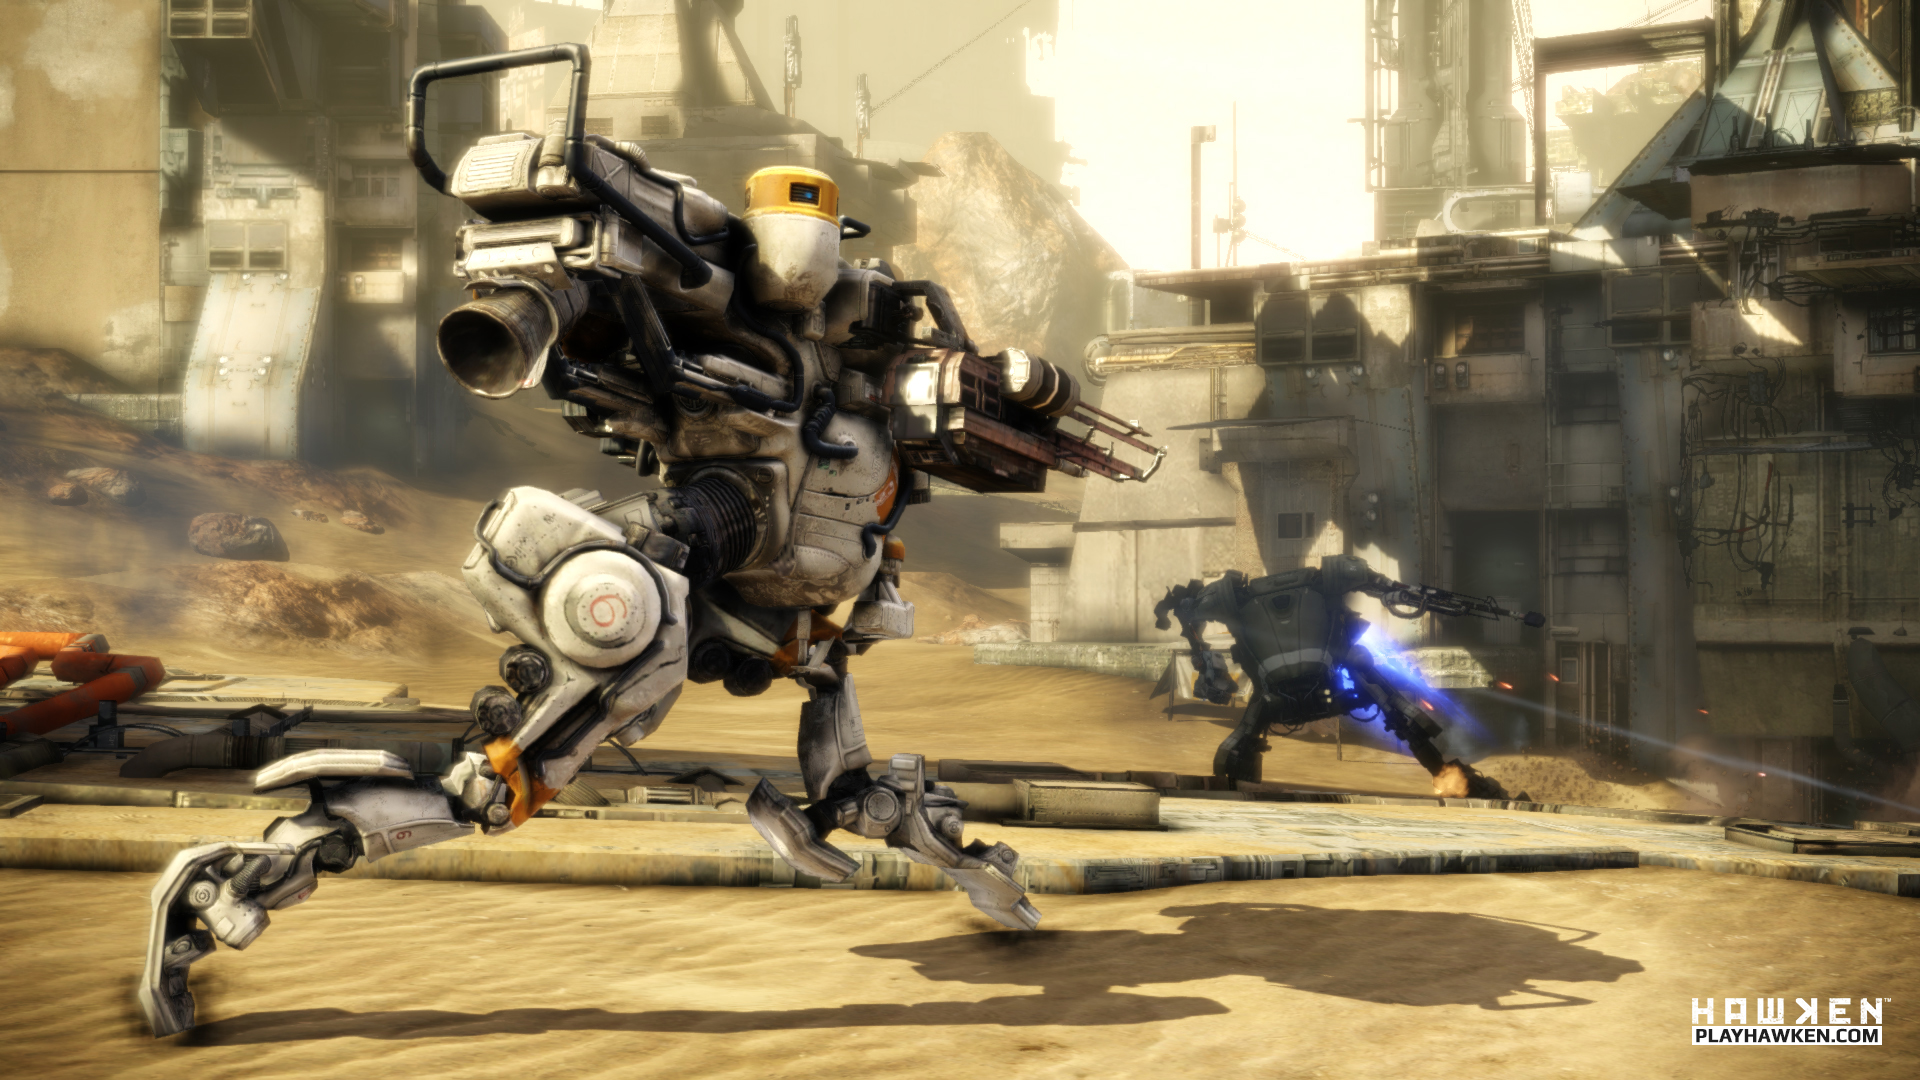
Partial Cover
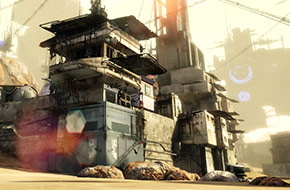
Vitrolium raiders use any remaining structures for cover, so most civilians have left. Constant mech combat riddles the settlement's buildings with bullet holes and scorch marks. Only the foolhardy or the insane continue to live in the ruins.
Pillars of Rock
At the edge of the settlement, the mountain ridge begins to break up into pillars that form pathways. These routes are highly contested and constantly change hands between rival clans. They also allow for ideal supporting fire and sniping locations.
Interactive Map
Plan Your Attack
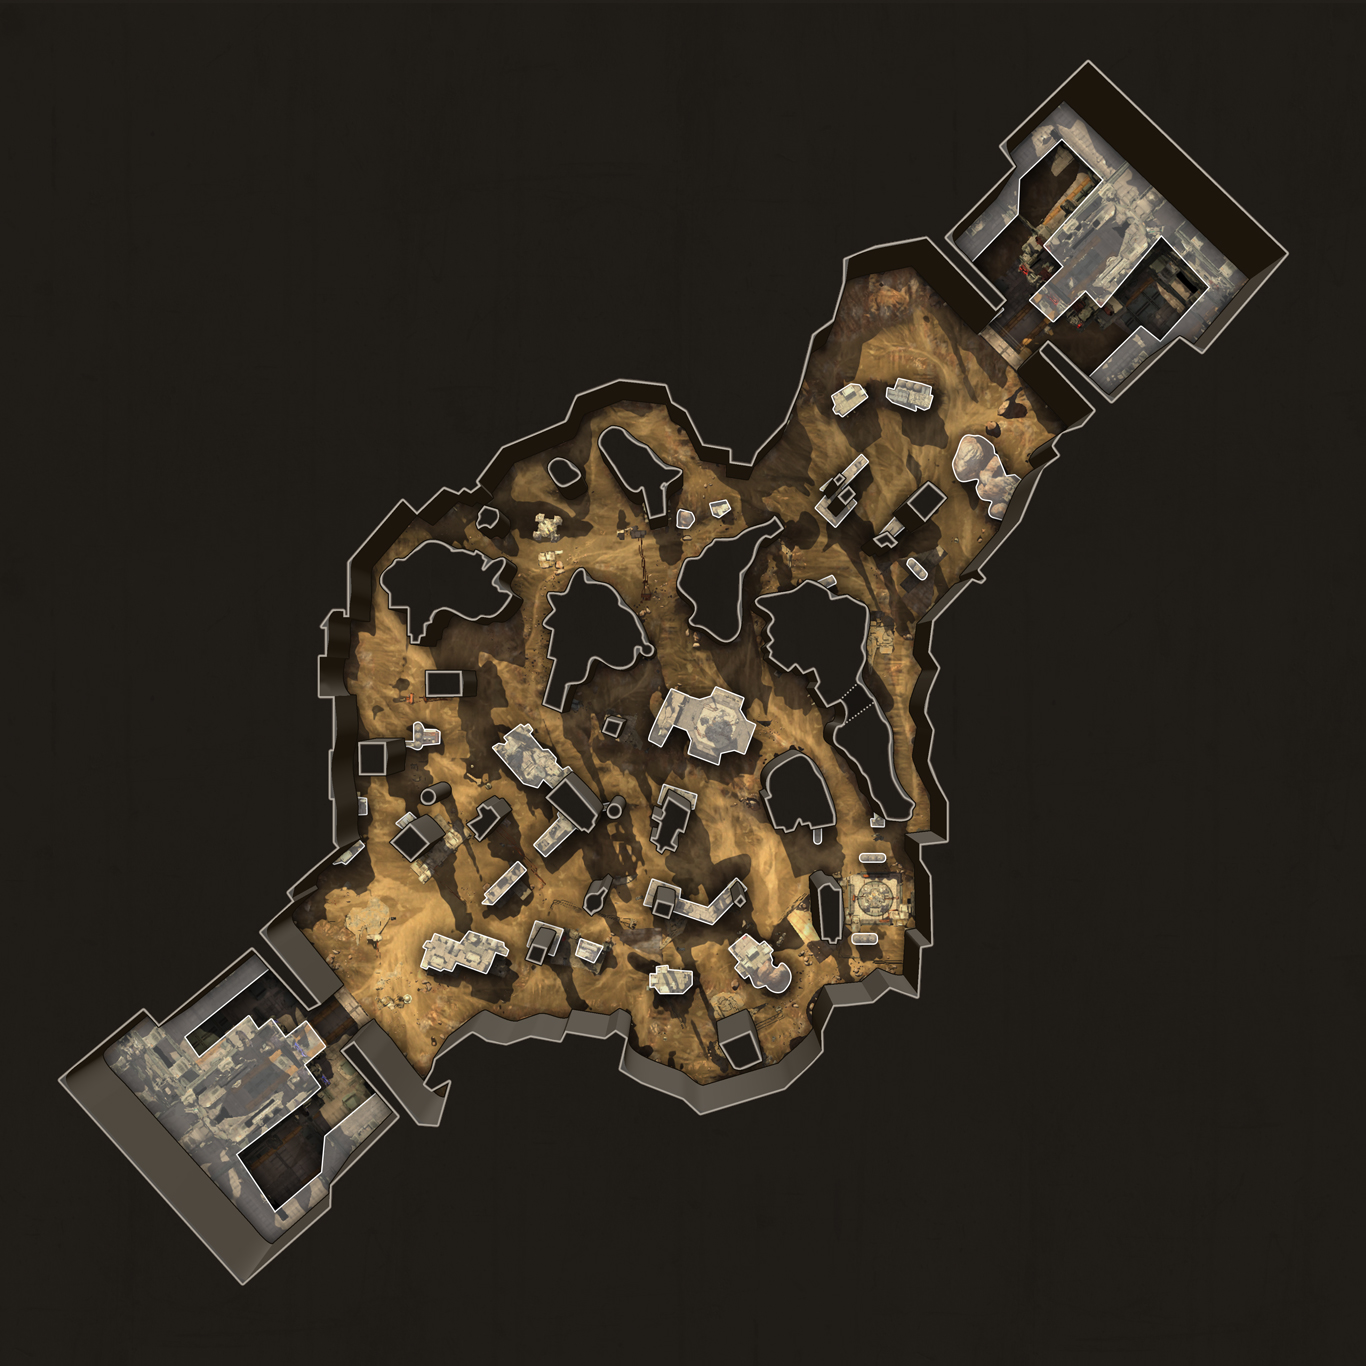
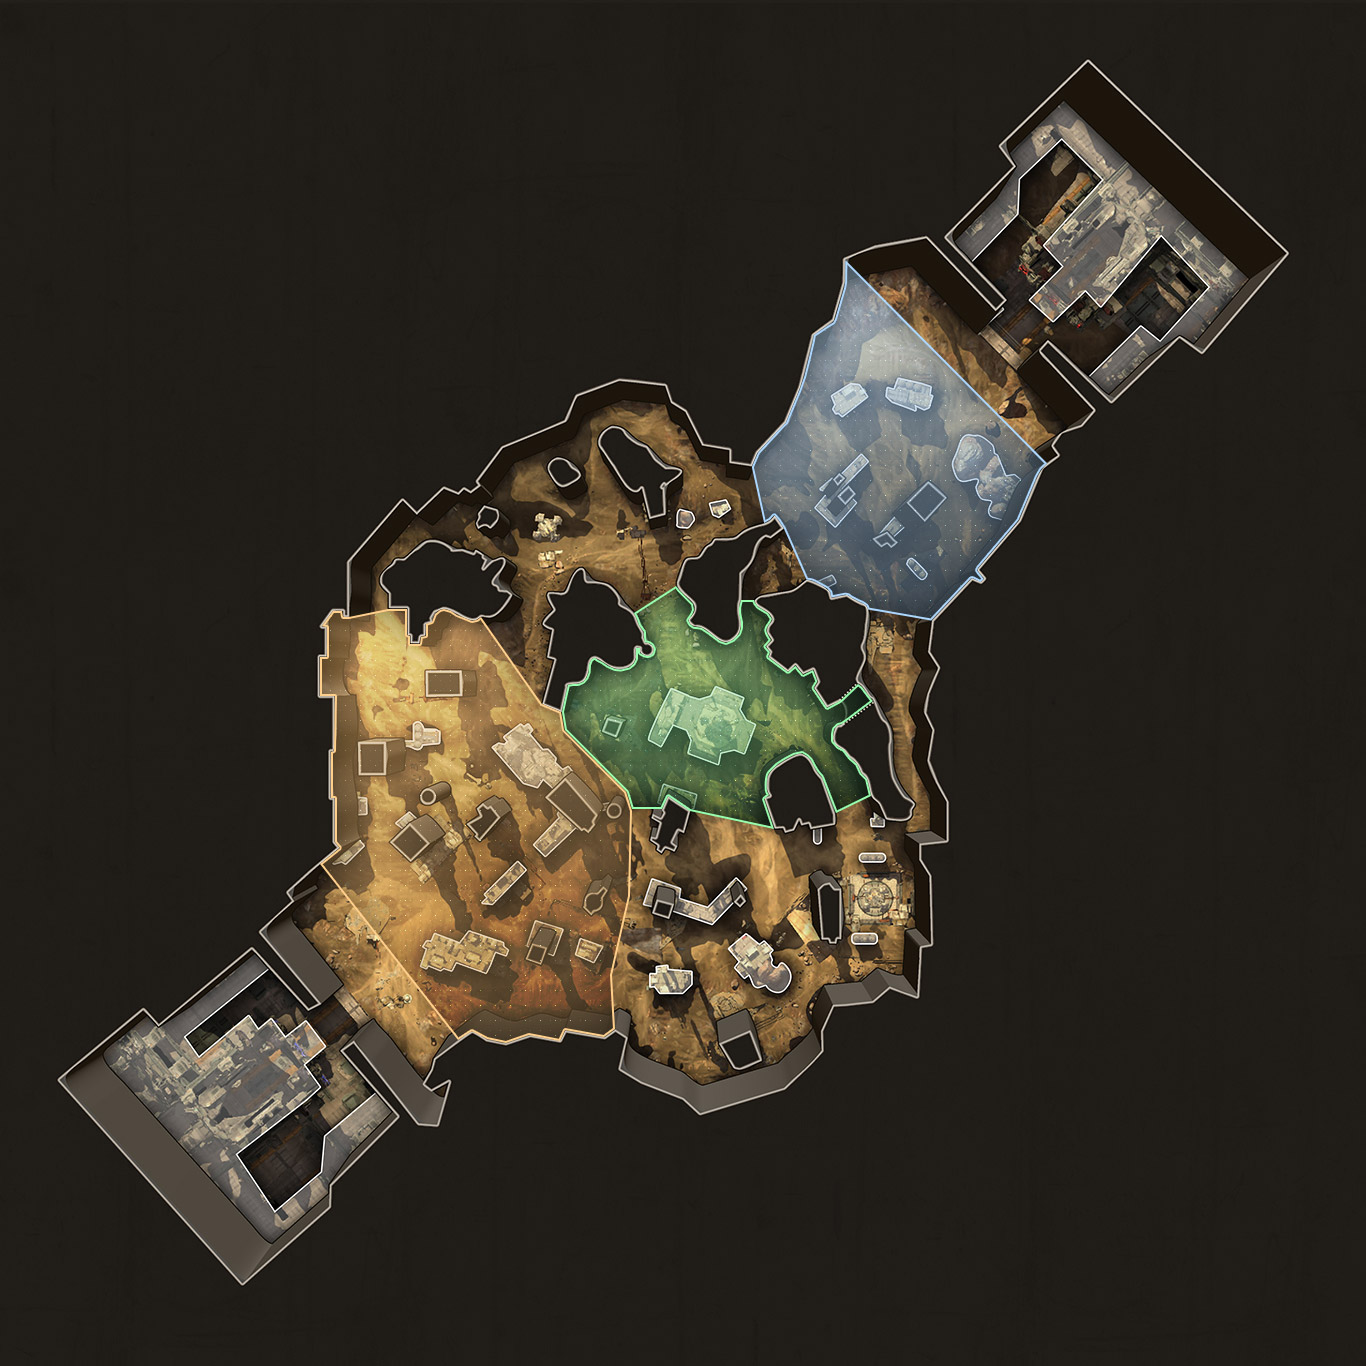
The map below depicts the terrain and pathways for Bazaar. Use the drop-down menu on the right to toggle between map states.
Strategy
Surviving the Bazaar
A mix of terraforming ruins and natural rock formations litter the landscape, providing significant cover for mechs engaged in close quarter combat, while several taller structures make excellent sniper positions.
To survive the Bazaar, avoid getting drawn into engagements that lead you down into the narrow choke points formed by the rock formations. Getting over eager and chasing your prey down one of these corridors may just get you killed.
Exercise caution when navigating the ruins as well. Enemy mechs can be lurking around any corner, and the layout provides plenty of opportunities for attacks from the rear or flank.
Team Deathmatch
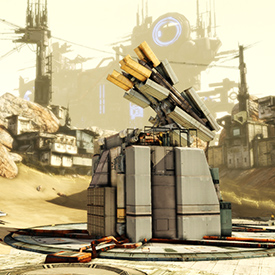
Taking the central silo can be one of the best strategies on Bazaar. Holding it can prove difficult, but a well coordinated team can be nearly unbreakable in this position. To drive a team out of the central silo, launch a multi-prong attack along the numerous paths leading to the center.
Missile Assault
It can be difficult to hold the silos on Bazaar due to the large number of attack paths that exist. Taking S2 should be your first priority. After that, your team can decide which silo to capture next. Never leave S2 undefended for long, though. Holding it is the most important goal on this map.
Deathmatch
Players have several options for achieving victory in Deathmatch on Bazaar. If you prefer to hunt from long range, find a vantage point in the ruins and use the open spaces to attack enemies from a distance. If you like to get up close and personal, stay in cover at all times and use the ruined buildings to mask your movements until the time to strike is right.
Media
Screenshots

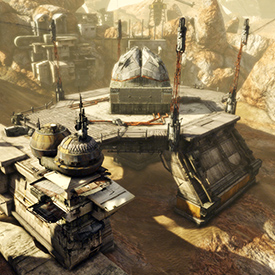
Pilots can use the large structure directly to the north for cover, but must still guard against attacks from the flanks. If enemies engage you in close range combat, use the low walls around the silo for cover.
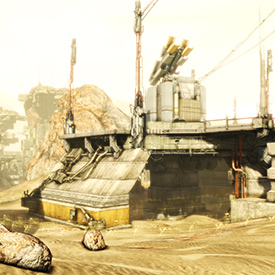
When attacking this position, utilize the numerous avenues of attack and launch an organized assault. Holding the position requires immaculate defense due to possible attacks coming from nearly every angle.
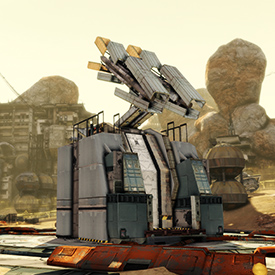
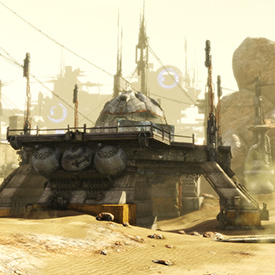
This position is fairly exposed without many options for cover. Pilots defending the silo should stay alert for enemies coming over the hill to the west or sneaking down the corridor to the north.
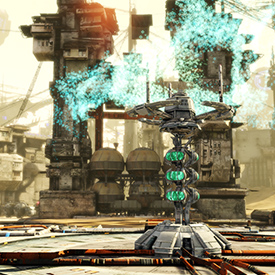
This is the spawn area for the Sentium team. Collect energy from the Energy Trees, and return it to the base to launch the Sentium battleship.
This is the spawn area for the Prosk team. Collect energy from the Energy Trees, and return it to the base to launch the Prosk battleship.

This position is fairly open without many options for cover. Pilots gathering energy here should be alert for enemies coming over the hill to the west or sneaking down the corridor to the north.
Pilots can use the large structure directly to the north for cover, but must still guard against attacks from the flanks. If enemies engage you in close range combat, use the low walls around the tree for cover.
When attacking this position, utilize the numerous avenues of attack and launch an organized assault. Holding the tower requires immaculate defense due to possible attacks coming from nearly every angle.
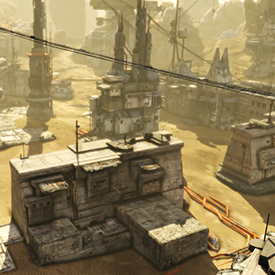
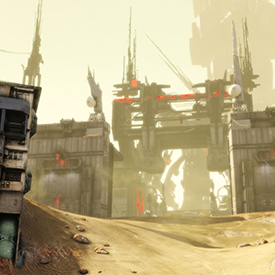
The ruins located in this area contain several tall structures ideal for snipers. If you choose to fight on the ground, you can boost over many of the low buildings to surprise foes who believe they are safe behind cover.
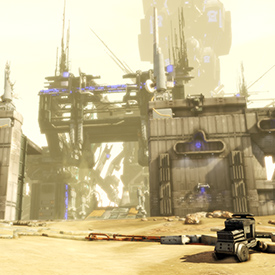
When fighting in this area, stay close to the silo where cover is most abundant. Avoid getting drawn away from the silo into engagements within the four choke points around the structure.
The ruins in this area can provide moderate cover for engagements, but can be easily surrounded. The high ground to the east provides a solid defensive position for pilots looking to defend their base.